Batch Billing Settings
- Click the Claims button
 on the Accuro Navigation bar.
- Double-click on any unsubmitted claim (for the purpose of updating the Batch Billing settings).
- Click Batch Billing in the top left of the Claim Details window and select Batch Billing Settings from the list displayed.
- Click the
 and select the Provider from the list displayed.
- Double-click the Date field and select from the calendar displayed. If there is to be no date, click the None checkbox.
- Type in the Procedure Code.
- Type in the Diagnostic Code.
- Click the and select the Insurer from the list displayed.
- Click the and select the Location from the list displayed.
- Click the and select the SCC from the list displayed.
- Click the Ellipses button
 and select the Ref From using the Provider Search window displayed.
- Click the Ellipses buttonand select the Ref To using the Provider Search window displayed.
- Click OK to save your settings.
Enable / Disable Batch Billing
- Click the Claims button on the Accuro Navigation bar.
- Double-click on a claim.
- Click Batch Billing in the top left of the Claim Details window and select Batch Billing in the list displayed.
Note: This procedure enables Batch Billing if it was previously disabled and disables Batch Billing if it was previously enabled.
Change the Provider Displayed

To change the Provider, click the at the bottom-left of the window and select a different Provider from the list displayed.
View or Change a Claims Referring Physician
- Click the Claims button on the Accuro Navigation bar.
- Click to select the appropriate tab.
- Double-click on the claim to open up the Claim Details window.
- Click the Ellipses button to the right of Ref Phys and select another Referring Provider from the list displayed, if applicable.
- Click Save and Close to save your changes and close the window.
Submitting from Daily Claims
If you submit from the Daily Claims tab, only claims from the selected date are submitted. This is a way to keep submissions small and narrow down problems with WCB claims as a problem with one claim stops the entire submission.
Validate Claims in the Daily Claims Tab
- Click the Claims button on the Accuro Navigation bar.
- Click the Daily Claims tab.
- Select the date for the claims being submitted.
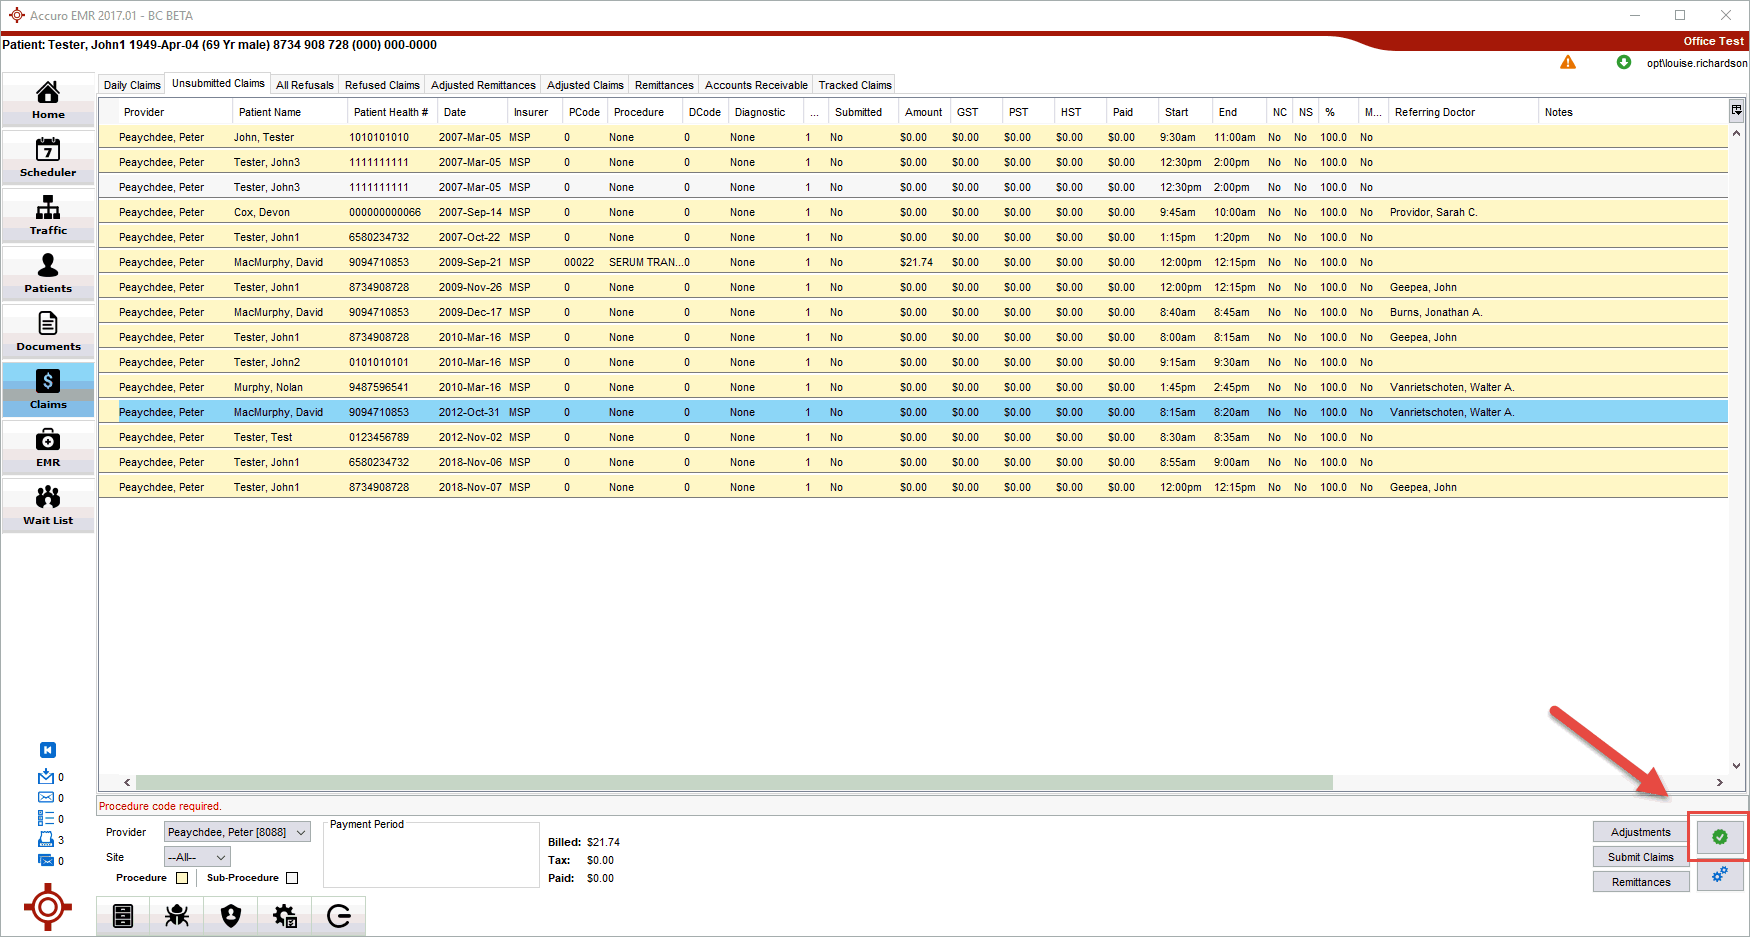
- Click the green Validate Claims button located at the bottom-right corner. This shows any problems with claims.
Submit Claims in the Daily Claims Tab
- Click the Claims button on the Accuro Navigation bar.
- Click the Daily Claims tab.
- Select the date for the claims being submitted.
- Click the Submit Claims button located at the bottom-right corner.
Submit Claims
- Click the Claims button on the Accuro Navigation bar.
- Click the Daily Claims or the Unsubmitted Claims tab.
- Once all claims are ready to be submitted, click the Submit Claims button located at the bottom-right of the window.
- If a Submission Warnings window is displayed, items listed in the warning need addressing before the submission can proceed. Claims that do not have warnings can be submitted, leaving behind those that have warnings to be corrected.
For information on how to manually submit Claims, please visit myWCB Manual Submission and Remittance Retrieval (AB).
Add a Sub-Procedure to a Claim
- Click the Claims button on the Accuro Navigation bar.
- Click to the Daily Claims or Unsubmitted Claims tab.
- Right-click on the appropriate claim and select New Procedure. This adds a new procedure underneath the selected claim.
- Complete the claim details, as required.