on the Accuro Navigation bar.
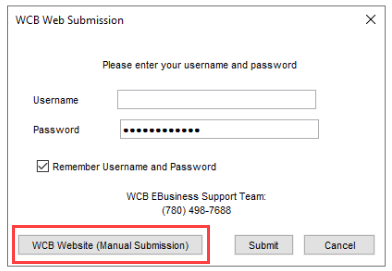
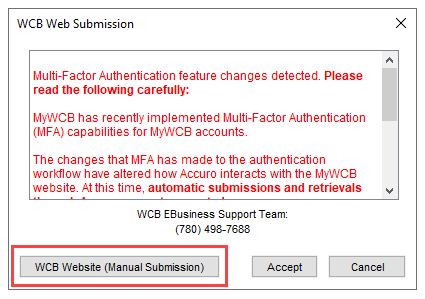
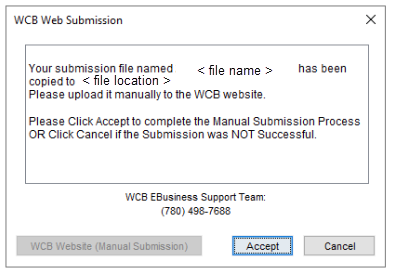
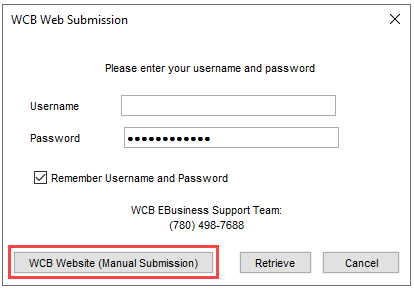
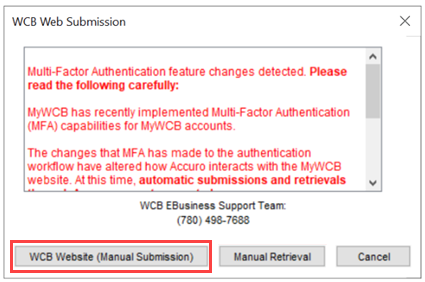
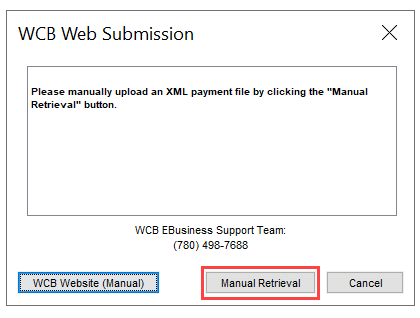
If you attempt to log in directly in the WCB Submission window and click Submit, the following messaging will appear. Proceed with clicking the WCB Website (Manual Submission) button.
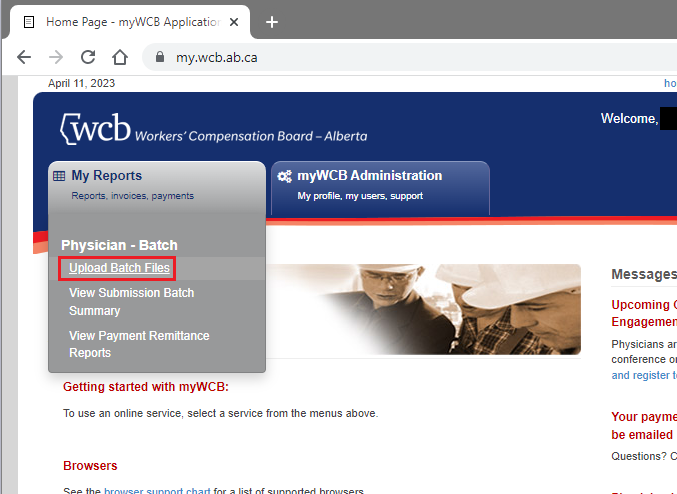
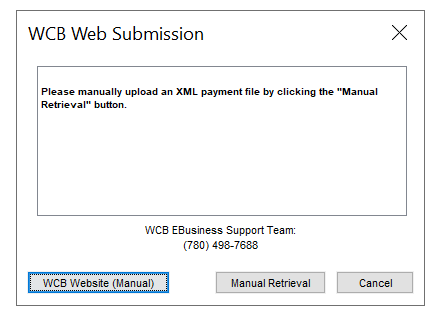
To allow for manual myWCB submissions and retrievals, a User with System Administrator will first need to configure the Alberta Submissions folder - as this is a system wide change, it only needs to be configured once by a single user in your clinic:
on the Accuro Navigation bar.
on the Accuro Navigation bar.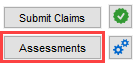
| For Local Clients (launch Accuro through a file/shortcut on computer) |
For Accuro Cloud Clients |
|---|---|
|
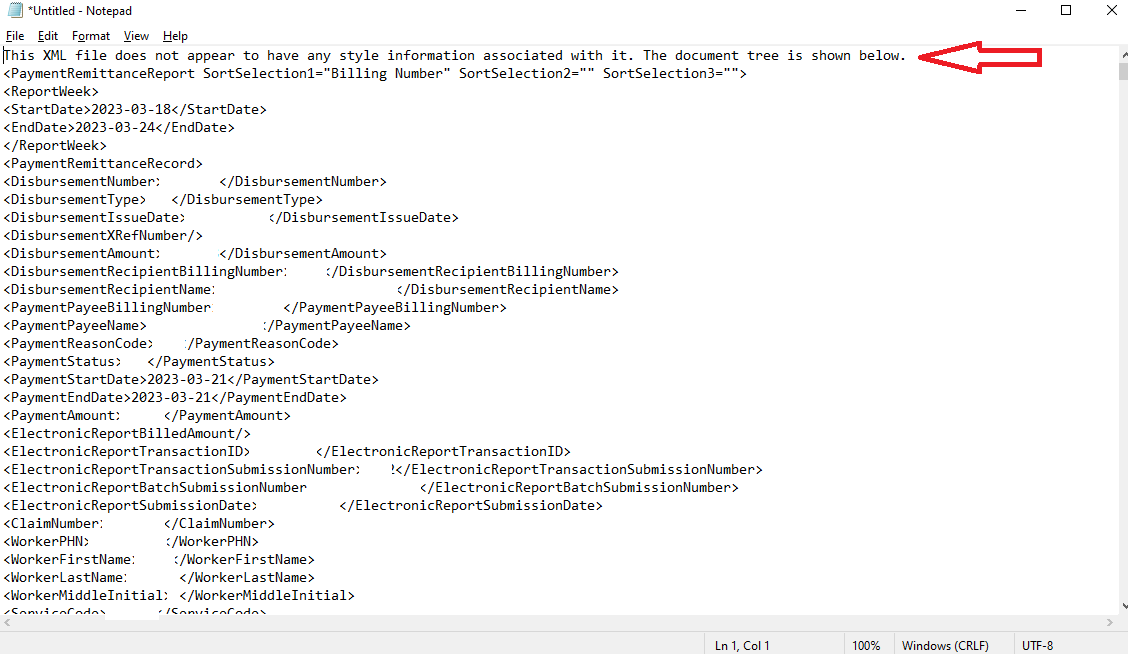
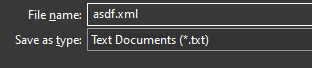
a. In this new tab, press and hold the Ctrl key and then press the A key to select all text. b. With all text selected, hold the Ctrl key and then press the C key to copy the text. c. In your computer's Windows Start menu, search and open the Notepad application. d. In Notepad, hold the Ctrl key and then press the V key to paste the copied text. e. In Notepad, delete the first line: "This XML file does not appear to have any style information associated with it. The document tree is shown below." f. Click File and then Save As. Navigate to save this file in your set Alberta Submission Folder (as configured in Configure Alberta Submission Folder). g. Name the file as desired, end the file name with ".xml" (see example below), and click Save. |
a. Click on the cogwheel at the top right of the browser. b. Click on File and then Save As. 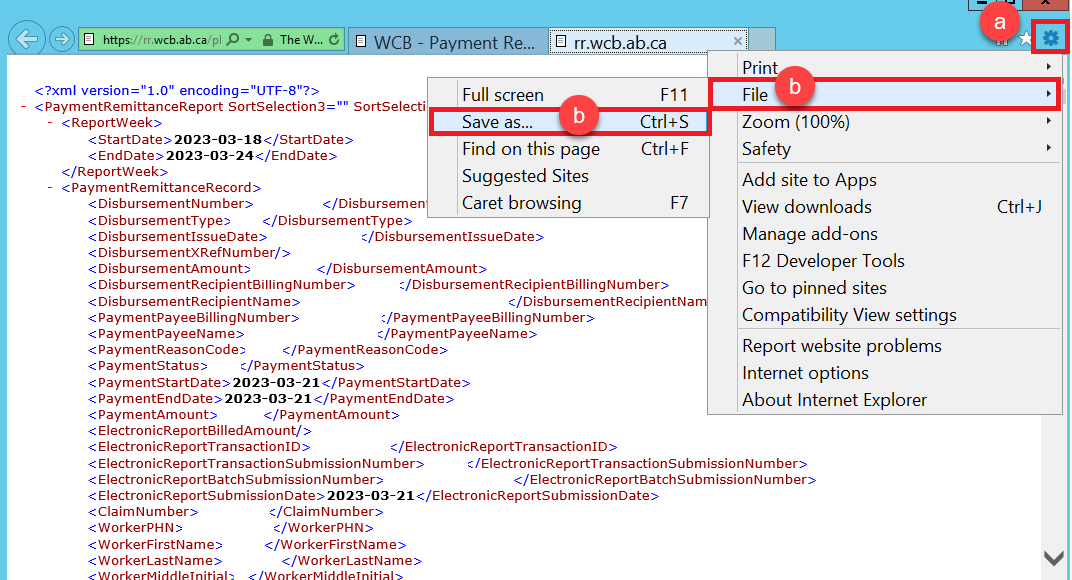 c. Navigate to save this file in your set Alberta Submission Folder (as configured in Configure Alberta Submission Folder). For Accuro Cloud clients, the file must be saved in the Shared Drive in S:\ABCLAIMS. |
"Please Click Accept to complete the Retrieval Process." - The Remittance retrieval was successful and will be saved to the File Queue, and visible in expected tabs in Accuro (Assessments, Not Reconciled, WCB Assessment Matching, etc.).
Note: To confirm no incorrect billing numbers were selected in the manual process (e.g. for multiple offices under one account), please check the WCB Assessment Matching tab under Unmatched Records.
"No file was selected during the manual retrieval process. Manual retrieval aborted." - The Remittance retrieval was not successful as no file was selected. Retry with selecting a file as outlined in step 13.
"Something went wrong while uploading your file to the file queue. Manual retrieval aborted." - The Remittance retrieval was not successful due to an error. Please try to manually retrieve the file again.
"Exact copy of selected file already exists in the file queue. Manual retrieval aborted." - The Remittance retrieval was not successful as it was previously processed. This will appear if no changes have been made to a previous Reporting Period and the file is reprocessed (See Note in step 9) and, if desired, you can proceed with the repeating the above steps (1 - 14) for the current Reporting Period.
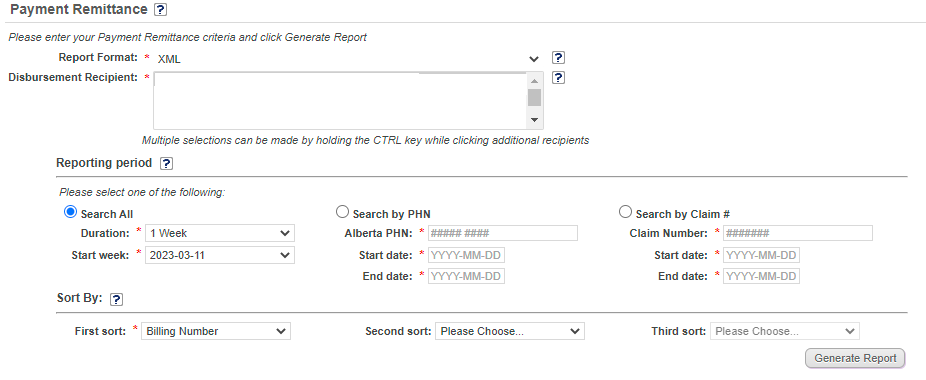
Note: The manual retrieval process only works on one file at a time. However, you can select many billing numbers in the report generation (step 8) and process them all at once in one file.