Configure Providers (F2)
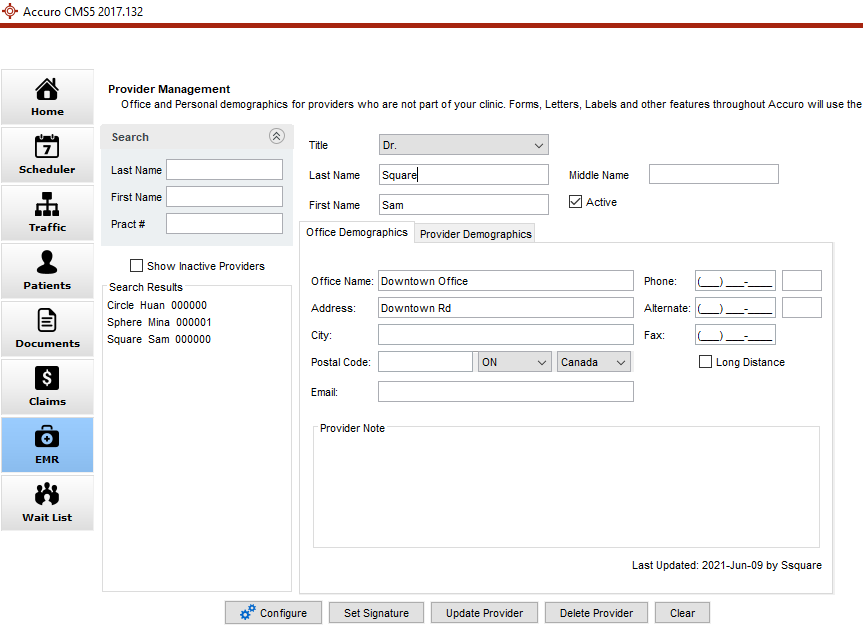
Provider Management is where clinic providers are configured.
You can also set and view office and personal demographics for providers who are not part of your office.
 See Administration - Basics and EMR - Pro on Accuro Learning Academy (ALA) for additional help on this topic! See Accuro Learning Academy for access.
Access Provider Management (Provider Configuration)
- Press and release the Alt button on the keyboard, click Tools and select Configure Providers from the list displayed. The Provider Management window is displayed
Note: You can also access Provider Management by pressing F2.
Search for Providers
- Press and release the Alt button on the keyboard, click Tools and select Configure Providers from the list displayed. The Provider Management window is displayed
Note: You can also access Provider Management by pressing F2.
- Click the Clear button.
- Type a Provider last name in the Last Name field.
- Click on a Provider in the Search Results box to select them.
Add a Provider
- Press and release the Alt button on the keyboard, click Tools and select Configure Providers from the list displayed. The Provider Management window is displayed
Note: You can also access Provider Management by pressing F2.
- Click the Clear button.
- Type in a Last Name and a First Name.
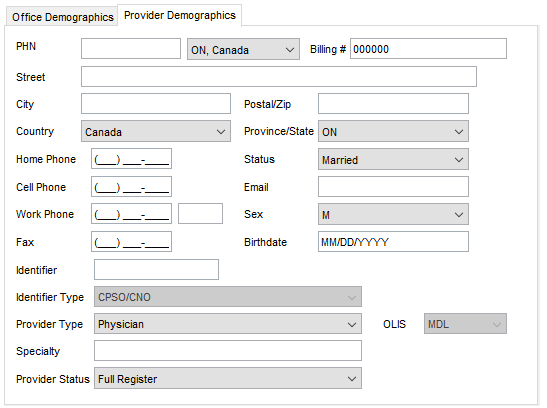
- Click the Provider Demographics tab and complete as many details as possible.
- Click the Add Provider button.
Configure a Provider
This feature requires either and Administrator or Physician Role, or the "Configure Office Providers" permissions enabled in Feature Access.
- Press and release the Alt button on the keyboard, click Tools and select Configure Providers from the list displayed. The Provider Management window is displayed
Note: You can also access Provider Management by pressing F2.
- Select a Provider from the Search Results Window.
- Click the Configure button
 .
.
- Navigate the Provider Wizard to configure a Provider.
Set Signature
This feature requires the Provider to be logged in as themselves.
- Press and release the Alt button on the keyboard, click Tools and select Configure Providers from the list displayed. The Provider Management window is displayed
Note: You can also access Provider Management by pressing F2.
- Click the Set Signature button
 to open the Edit Signature Window.
- Draw your signature into the blank area displayed using the mouse.
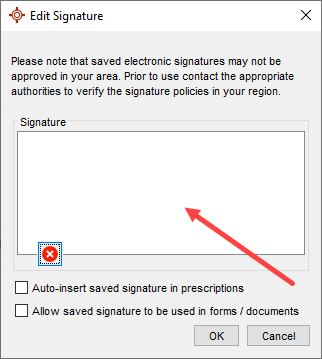
- Select "Auto-insert saved signature in prescriptions" to auto-fill the signature when prescribing within Accuro.
- Select "Allow saved signature to be used in forms/documents" to allow the signature component to insert the Providers signature in Form Editor.
Note: If your clinic uses provincial forms in Encounter Notes, please ensure you have this enabled to allow your signature to populate on provincial forms that require a signature.
- Click OK to save.
Update a Provider
- Press and release the Alt button on the keyboard, click Tools and select Configure Providers from the list displayed. The Provider Management window is displayed
Note: You can also access Provider Management by pressing F2.
- Search for the Provider and select them.
- Use the Office Demographics and Provider Demographics tabs to update information, as required.
- Click the Update Provider button.
Patient's Last Diagnostic Code
Setting default to "Patient's last Diagnostic Code” is available in Provider configuration. When enabled this option defaults new bills to the patient’s last diagnostic code.
To access the Patient's Last Diagnostic Code setting, follow the procedure below:
- Press F2 (Provider Configuration) or Press and release the Alt button on the keyboard, click Tools and select Configure Providers from the menu displayed.
- Click Configure.
- Click Next to get to the Billing Details Section. The Patient’s Last Diagnostic Code checkbox is in the Provider Defaults section.
Delete a Provider
- Press and release the Alt button on the keyboard, click Tools and select Configure Providers from the list displayed. The Provider Management window is displayed
Note: You can also access Provider Management by pressing F2.
- Search for the Provider and then click to select them.
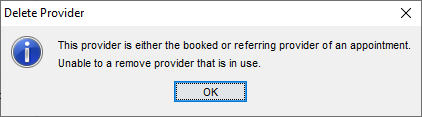
- Click the Delete Provider button. Confirmation message is displayed:
Note: If the Provider is either the booked or referring Provider of an appointment, then they cannot be removed and the following message is displayed:
- Click Yes to proceed. The selected Provider has been deleted.
Provider Titles
Provider Titles can be changed and custom titles can be added, if required. Provider Titles can be updated in Provider Configuration (F2) and the Address Book. To customize a Provider Title follow the procedure below:
- Press and release the Alt button on the keyboard, click Tools and select Providers from the list displayed. The Provider Management window is displayed
Note: You can also access Provider Management by pressing F2.
- Click the Title dropdown and select a Title.
Add Title
To add a custom title for a Provider Title, follow the procedure below:
- Press and release the Alt button on the keyboard, click Tools and select Providers from the list displayed. The Provider Management window is displayed
Note: You can also access Provider Management by pressing F2.
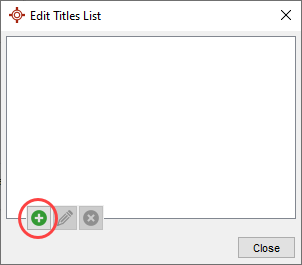
- Click the Title dropdown and select a Manage to open the Edit Titles List Window.
- In the Edit Titles List Window click the Add button
 to add a title.
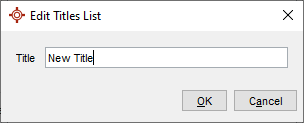
- Enter a new Title and click OK.
- Click Close to exit the Edit Titles List Window.
- Select the the new Title in the dropdown to apply.
Edit Titles List
To edit a custom title for a Provider Title, follow the procedure below:
- Press and release the Alt button on the keyboard, click Tools and select Providers from the list displayed. The Provider Management window is displayed
Note: You can also access Provider Management by pressing F2.
- Click the Title dropdown and select a Manage to open the Edit Titles List Window.
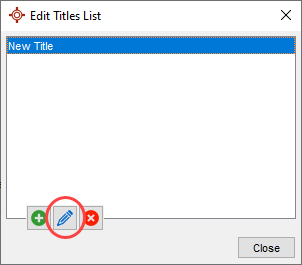
- In the Edit Titles List Window select a title and click the Edit button
 to edit an existing title.
- Click Close to exit the Edit Titles List Window.
Delete Title
To delete a custom title for a Provider Title, follow the procedure below:
- Press and release the Alt button on the keyboard, click Tools and select Providers from the list displayed. The Provider Management window is displayed
Note: You can also access Provider Management by pressing F2.
- Click the Title dropdown and select a Manage to open the Edit Titles List Window.
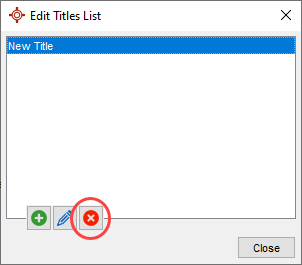
- In the Edit Titles List Window select a title and click the Delete button
 to delete an existing title.
- Confirm the selection in the Delete Item Window by clicking OK.
- Click Close to exit the Edit Titles List Window.
CPSO/CNO Number (ON)
The College of Physicians and Surgeons of Ontario (CPSO) or College of Nurses of Ontario (CNO) number is a registration number. This number is displayed in the prescription header by default, provided the CPSO/CNO has been added in Provider Management (F2).
To show/hide the CPSO/CNO number on prescription see the Provider Wizard Display/Do Not Display CPSO Number section of the User Guide.
Adding a Provider's CPSO/CNO Number (ON)
- Press F2 anywhere in Accuro to display the Provider Management window.
- Select the appropriate Provider.
- Click the Provider Demographics tab. The Identifier field is located towards the middle of the window.
Note: The Identifier Type is currently set at 'CPSO/CNO'.
- Type in the Identifier (CPSO/CNO) number.
- Click the Update Provider button to save your changes.