Provider Wizard
If the Provider you search for and select is a part of your office, with Administrative/Feature Access permissions the Configure button is enabled. Click the Configure button to access the Provider Wizard.
When any changes are made the message, "Provider Configuration Updated" is stored in the Provider Configuration log.
The Provider Wizard consists of several sections dependant upon your province. The first several sections are used by Accuro Client Services to setup demographic and billing information for the providers in your office. Please speak to Accuro support (1-866-729-8889) before making any changes.
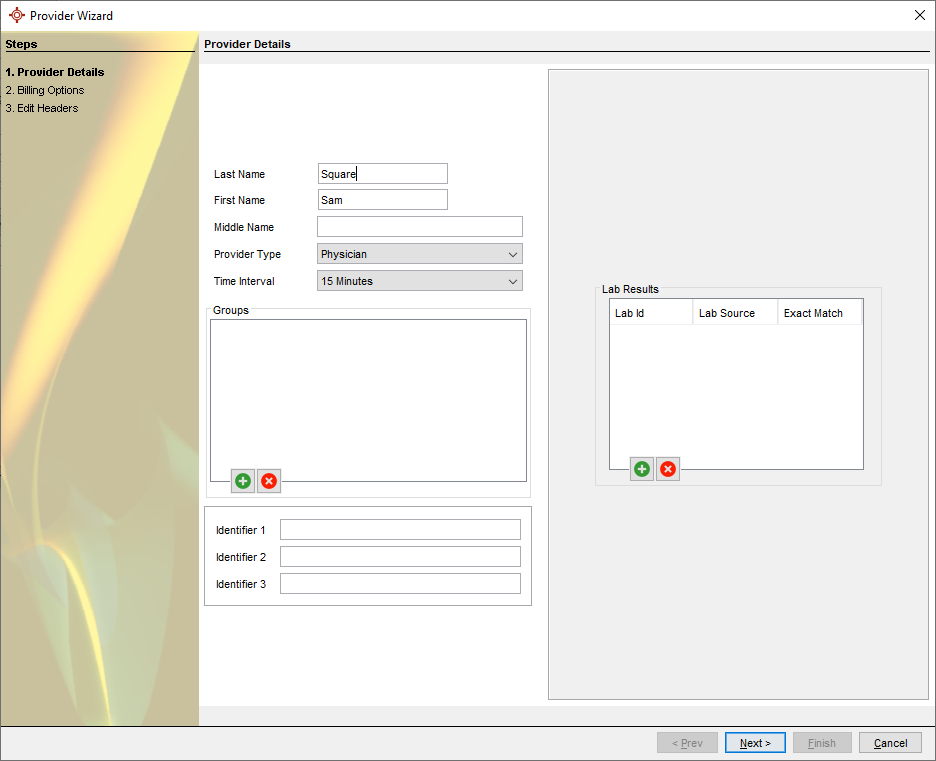
Provider Details
Provider Details is the first window you see in the Provider Wizard.
- Press and release the Alt button on the keyboard, click Tools and select Configure Providers from the list displayed. The Provider Management window is displayed
Note: You can also access Provider Management by pressing F2.
- Type in as the Provider's Last Name, First Name and Middle Name.
- Click
 and select the Provider Type from the list displayed.
- Click and select the Time Interval from the list displayed. This is the time interval that is used for this physician in the Scheduler.
- Click the Add button
 and add the Provider to any groups, as appropriate.
- If this Provider has a Prescription ID and a Lab ID, type them into the appropriate field.
- Type in Identifiers, as applicable
- When completed click the Next button and you are taken to the Billing Details window.
Add Provider Group in Provider Wizard
- Press and release the Alt button on the keyboard, click Tools and select Configure Providers from the list displayed. The Provider Management window is displayed
Note: You can also access Provider Management by pressing F2.
- Click the Clear button.
- Type a Provider last name in the Last Name field.
- Click on a Provider in the Search Results box to select them.
- Click the Configure button
 .
.
- In the Groups section click the Add button . The Select Group window is displayed:
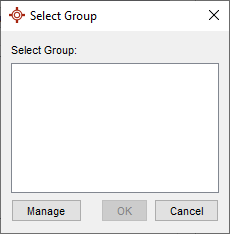
- Click the Manage button. The Edit Provider Groups window is displayed:
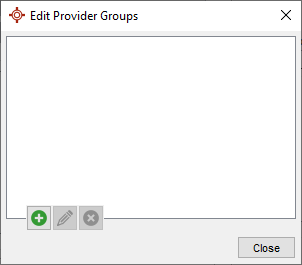
- Click the Add button . The Edit Provider Groups window is displayed:
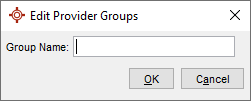
- Type in the group name and click OK.
- Click Close.
- In the Select Group window, click to select the newly created group and click OK. The Provider you selected is now assigned to the newly created group. Click Next, Next and Finish to save your changes.
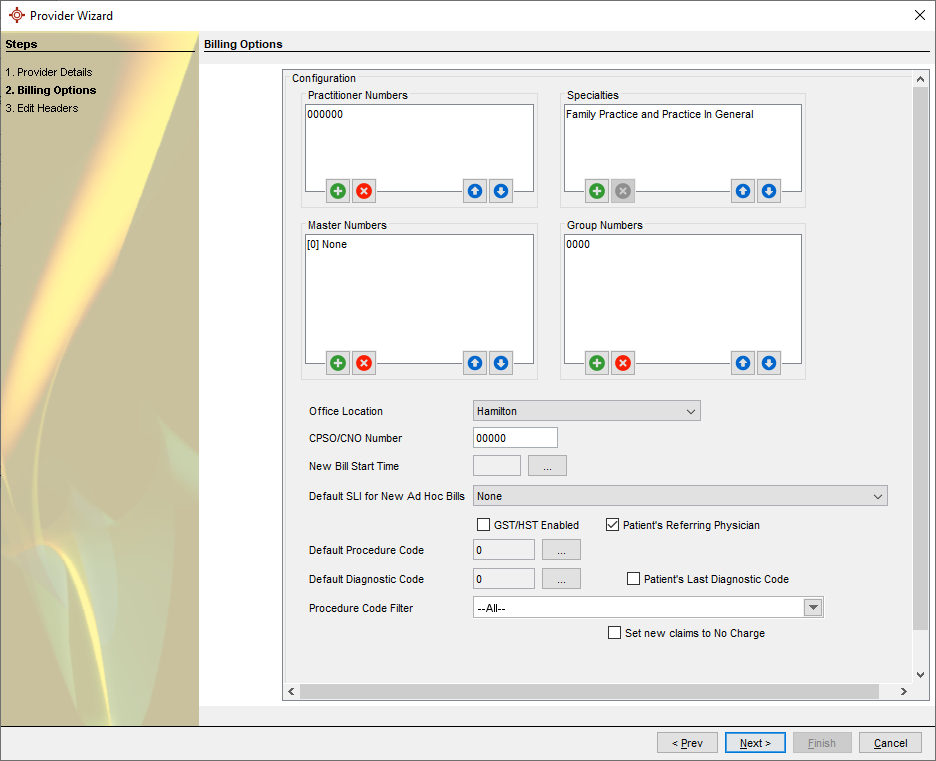
Billing Details
Billing Details is the second window you see in the Provider Wizard. For information and help on the Provider Wizard from the beginning, go to Provider Details.
- Press and release the Alt button on the keyboard, click Tools and select Configure Providers from the list displayed. The Provider Management window is displayed
Note: You can also access Provider Management by pressing F2. In the Configuration section type in the Pract. Number, Data Centre #, Payee Number Unincorporated Payee Number and SCC as applicable.
- Click to select the Charge GST/HST and Opted In checkboxes, as required.
- Click and select the Procedure Code Filter, if applicable. The default is All.
- In the Defaults section click the Ellipses buttons
 and select Default Diagnostic and Procedure codes, if required.
- Click and select the New Bill Location and New Appt Location, if applicable.
- Type in the New Appt Facility and New Bill Facility and the New Bill Start Time, if appropriate.
- Click to select the Patient's Last Diagnostic Code checkbox, if applicable.
- Click to select Patient’s Referring Physician checkbox, if applicable. With this enabled appointments created for the Provider will automatically apply the referring Physician from the patient demographics onto the appointment.
- In the Facility Exceptions section Add exceptions, Procedure Code and Facility Code, if applicable.
- Enable Set new claims to No Charge if all new claims for this Provider should have a no charge status.
- Click the Next button to continue and you are taken to the Edit Headers window.
Hospital Code Premiums (MB)
By default, the Hospital Code Premium Bonus will apply to applicable codes. This setting can be disabled on Hospital codes from the Provider Wizard window as follows:
- Press and release the Alt button on the keyboard, click Tools and select Configure Providers from the list displayed. The Provider Management window is displayed.
Note: You can also access Provider Management by pressing F2.
- Select the desired Provider from Search Results and click Configure. The Provider Wizard window is displayed.
- Click the Next button to continue and you are taken to the Billing Options window.
- Under Hospital Codes, click the Manage Hospital Codes
 button.
- Select the desired hospital and click the Edit
 button or click the Add button to add a new one.
- Disable (uncheck) the Include Hospital Premium checkbox and click OK.
- Click OK and Next until Finish.
To enable Hospital Code Premiums:
- Press and release the Alt button on the keyboard, click Tools and select Configure Providers from the list displayed. The Provider Management window is displayed.
Note: You can also access Provider Management by pressing F2.
- Select the desired Provider from Search Results and click Configure. The Provider Wizard window is displayed.
- Click the Next button to continue and you are taken to the Billing Options window.
- Under Hospital Codes, click the Manage Hospital Codes button.
- Select the desired hospital and click the Edit button or click the Add button to add a new one.
- Enable (check) the Include Hospital Premium checkbox and click OK.
- Click OK and Next until Finish.
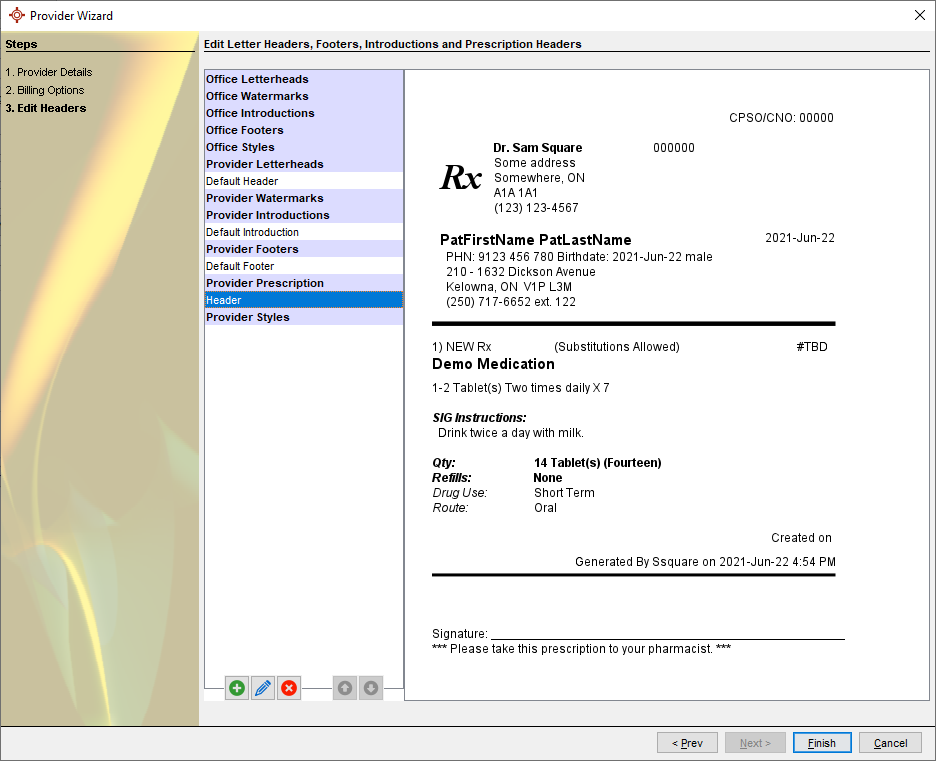
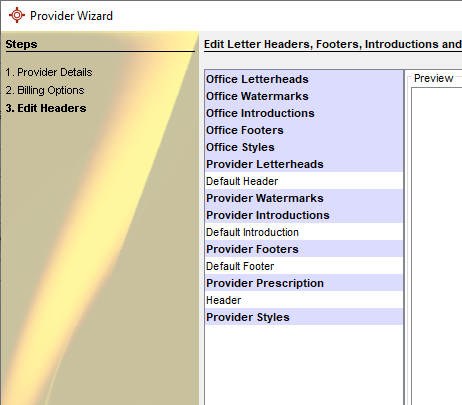
Edit Headers
In the Edit Headers section, you can create and manage Letterheads, Introductions, Footers, and Prescriptions. Edit Headers is the third window you see in the Provider Wizard. For information and help on the Provider Wizard from the beginning, go to Provider Details.
Add a Letterhead
- Press and release the Alt button on the keyboard, click Tools and select Configure Providers from the list displayed. The Provider Management window is displayed.
Note: You can also access Provider Management by pressing F2.
- Select the appropriate Provider.
- Click the Configure button .
- Click the Next button two times.
- Click the Add button to add another header.
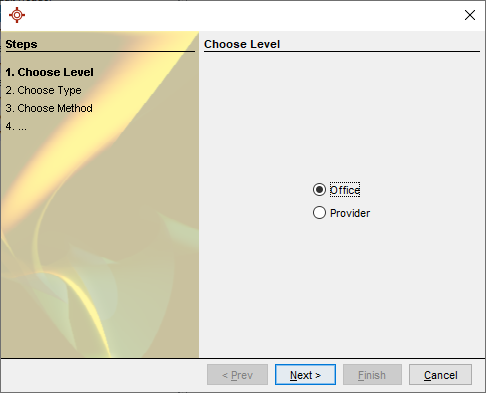
- Click the appropriate radio button to select either Office or Provider. Office means the header will be available to everyone, Provider means it will only be available to the Provider selected when entering the wizard.
- Click Next.
- Select Letterhead from the list displayed and click Next.
- Select from Create New, Copy Existing or Create From Template. For this Procedure we will Copy Existing.
- Click Next.
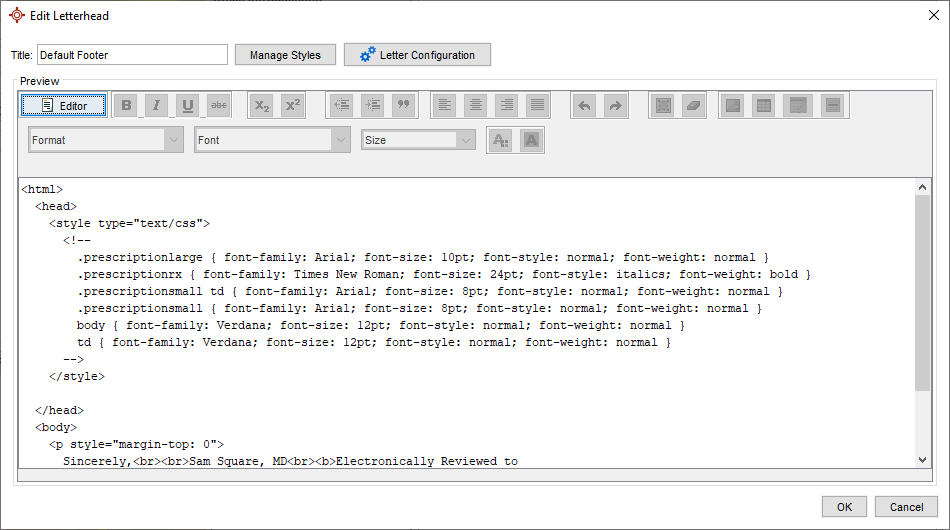
- Select the header being copied and click Finish. The Edit Letterhead window is displayed, this is where the header is created.
- Type in a name for the header in the Title field.
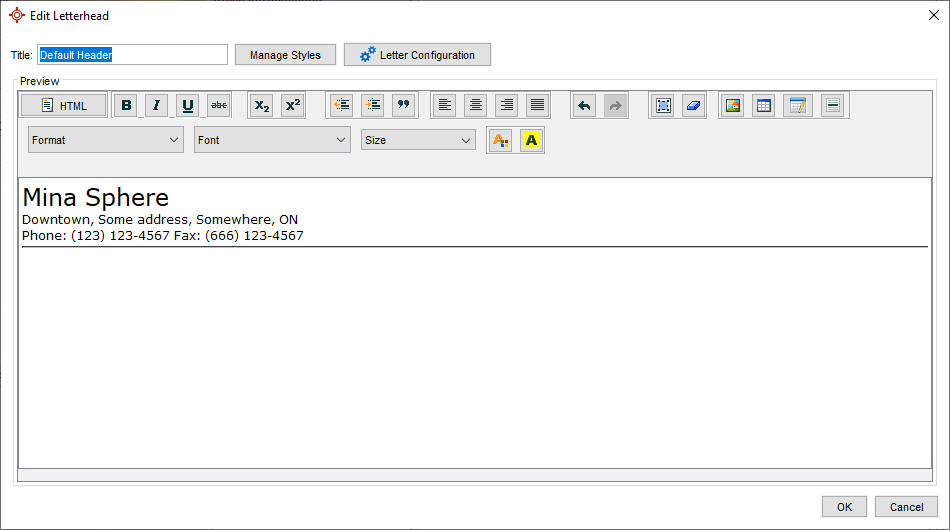
- Click Letter Configuration to manage the margins for the header if required. Click OK to save any changes.
- Click Manage Styles to access the font styles, sizes and other formatting that is associated with word processing. Update as required.
- Click the HTML button to edit the text in HTML format.
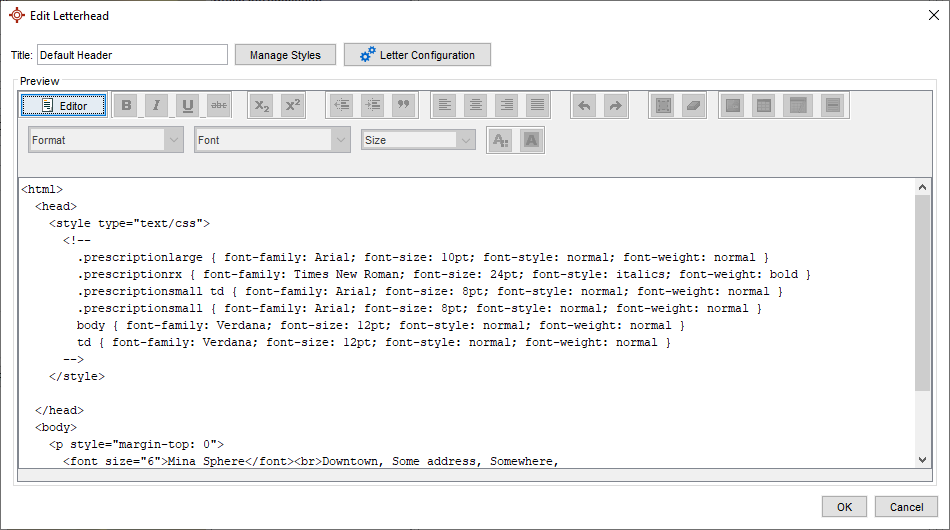
Note: Make sure you do not remove any of the HTML commands, these appear in brackets <> and are instructions that tell the text how to display.
- Right-click any tags that you may want added to the signature.
- Click the Editor button to see how the header will look.
- Click OK to save your changes.
Edit a Letterhead
- Press and release the Alt button on the keyboard, click Tools and select Configure Providers from the list displayed. The Provider Management window is displayed.
Note: You can also access Provider Management by pressing F2.
- Click the Clear button.
- Type a Provider last name in the Last Name field.
- Click on a Provider in the Search Results box to select.
- Click the Configure button .
- Click the Next button two times.
- Click to select the letterhead and click the Edit button . The Edit Letterhead window is displayed.
- Use the word processing buttons to make any changes required.
- Click Letter Configuration to manage the margins for the header if required. Click OK to save any changes.
- Click Manage Styles to access the font styles, sizes and other formatting that is associated with word processing. Update as required.
- Click the HTML button to edit the text in HTML format.
Note: Make sure you do not remove any of the HTML commands, these appear in brackets <> and are instructions that tell the text how to display.
- Right-click any tags that you may want added to the signature.
- Click the Editor button to see how the header will look.
- Click OK to save your changes.
Delete a Letterhead
- Press and release the Alt button on the keyboard, click Tools and select Configure Providers from the list displayed. The Provider Management window is displayed.
Note: You can also access Provider Management by pressing F2.
- Click the Clear button.
- Type a Provider last name in the Last Name field.
- Click on a Provider in the Search Results box to select.
- Click the Configure button .
- Click the Next button until you get to the Provider Wizard window.
- Click to select the letterhead and click the Delete button
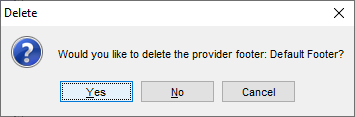
 . A confirmation message is displayed:
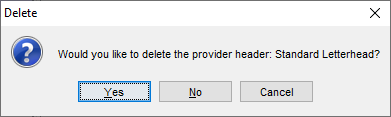
- Click Yes to proceed. The letterhead has been deleted.
- Click Finish to exit the Provider Wizard.
Letterhead Images
Note: This information is for self administered sites only. Clinics that are not self administered need to contact Accuro to get a letterhead image imported into their accdocs folder.
When adding an image to a Provider's letterhead users no longer have to save the image to an http url. The image can be added to an acc_images folder (located within accdocs) and then uploaded into the header using the protocol "accimages:///".
To check the location of the accdocs folder follow the steps below:
- Press and release the Alt button on the keyboard, click Tools and select Administrator Tools.
- Select Accdocs Viewer.
For Sites that are not self administered:
Contact our Client Services team at 1 (866) 729-8889 or accuro@qhrtech.com to have a letterhead imported for you.
Alternatively, an image that is hosted on the internet then can added to a header by pressing F2 > click the Configure button > click Next until Step 3: Edit Headers > select either the Office or Provider Letterhead > click the Edit button . In the Edit Letterhead window there is an Image button  where users can add a URL to insert an image into the letterhead.
If the URL of the image selected changes or the image is deleted from the internet then it will not display in the letterhead.
Add a Watermark
- Press and release the Alt button on the keyboard, click Tools and select Configure Providers from the list displayed. The Provider Management window is displayed.
Note: You can also access Provider Management by pressing F2.
- Click the Clear button.
- Type a Provider last name in the Last Name field.
- Click on a Provider in the Search Results box to select.
- Click the Configure button .
- Click the Next button two times.
- Click the Add button .
- Select if the header is to be for the office or just the selected Provider, click Next.
- Select Watermark, click Next.
- Select from Create New, Copy Existing or Create from Template, click Next.
- Click Finish to create the watermark. The Letter Watermark window is displayed:
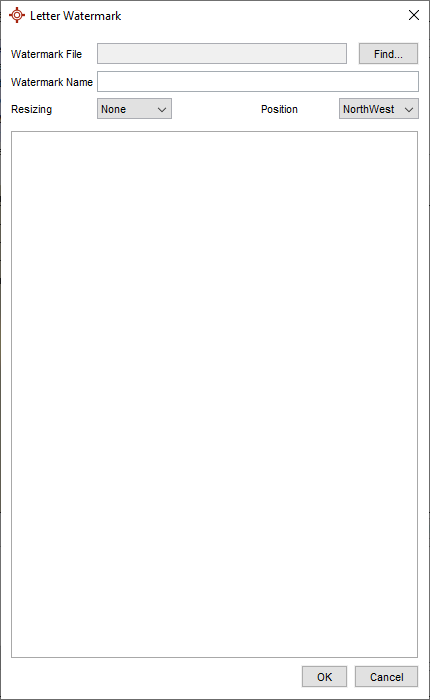
- Click Find and browse to the folder location of your watermark file.
- Click to select the file and click Open.
- In the Watermark Name field, type in the name of your watermark.
- Click the and select from Horizontal, Vertical or Both resizing, if applicable.
- Click the and select to move the Position of the Watermark, if required.
Note: The new positions are compass locations, e.g. North is the top of the page and South is the bottom of the page.
- Click OK to save your changes.
- Click the Cancel button to close this window.
- Click Finish to exit the Provider Wizard.
Edit a Watermark
- Press and release the Alt button on the keyboard, click Tools and select Configure Providers from the list displayed. The Provider Management window is displayed.
Note: You can also access Provider Management by pressing F2.
- Click the Clear button.
- Type a Provider last name in the Last Name field.
- Click on a Provider in the Search Results box to select.
- Click the Configure button .
- Click the Next button two times.
- Click to select the watermark and click the Edit button . The Letter Watermark window is displayed.
- Click the and select from Horizontal, Vertical or Both resizing, if applicable.
- Click the and select to move the Position of the Watermark, if required.
Note: The new positions are compass locations, e.g. North is the top of the page and South is the bottom of the page.
- Click OK to save your changes.
- Click the Cancel button to close this window.
- Click Finish to exit the Provider Wizard.
Delete a Watermark
- Press and release the Alt button on the keyboard, click Tools and select Configure Providers from the list displayed. The Provider Management window is displayed.
Note: You can also access Provider Management by pressing F2.
- Click the Clear button.
- Type a Provider last name in the Last Name field.
- Click on a Provider in the Search Results box to select.
- Click the Configure button .
- Click the Next button until you get to the Provider Wizard window.
- Click to select the watermark and click the Delete button . A confirmation message is displayed:
- Click Yes to proceed. The watermark has been deleted.
- Click Finish to exit the Provider Wizard.
Add an Introduction
- Press and release the Alt button on the keyboard, click Tools and select Configure Providers from the list displayed. The Provider Management window is displayed.
Note: You can also access Provider Management by pressing F2.
- Click the Clear button.
- Type a Provider last name in the Last Name field.
- Click on a Provider in the Search Results box to select.
- Click the Configure button .
- Click the Next button two times.
- Click the Add button .
- Select if the header is to be for the office or just the selected Provider, click Next.
- Select Introduction, click Next.
- Select from Create New, Copy Existing or Create from Template, click Next.
- Click Finish to create the letterhead. The Edit Introduction window is displayed:
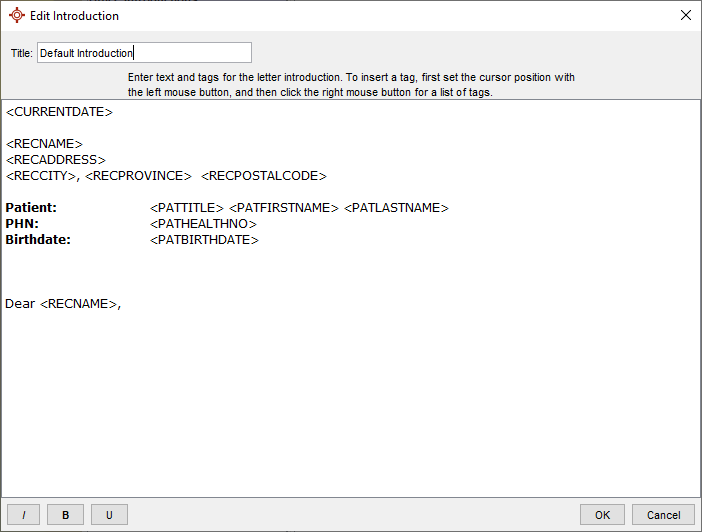
- Type in the Title of your introduction.
- Type in text as required. To insert tags, click to select where you want the tag added, right-click and select the tag from the list displayed.
- To make text italicized click and drag to select the text and click the Italic button
 .
.
- To make text emboldened click and drag to select the text and click the Bold button
 .
.
- To make text underlined click and drag to select the text and click the Underline button
 .
.
- When you are happy with the appearance of your introduction, click OK.
- Click Finish to exit the Provider Wizard.
Edit an Introduction
- Press and release the Alt button on the keyboard, click Tools and select Configure Providers from the list displayed. The Provider Management window is displayed.
Note: You can also access Provider Management by pressing F2.
- Click the Clear button.
- Type a Provider last name in the Last Name field.
- Click on a Provider in the Search Results box to select.
- Click the Configure button .
- Click the Next button two times.
- Click to select the letterhead and click the Edit button . The Edit Introduction window is displayed.
- Edit the text as required. To insert tags, click to select where you want the tag added, right-click and select the tag from the list displayed.
- To make text italicized click and drag to select the text and click the Italic button .
- To make text emboldened click and drag to select the text and click the Bold button .
- To make text underlined click and drag to select the text and click the Underline button .
- When you are happy with the appearance of your introduction, click OK.
- Click Finish to exit the Provider Wizard.
Delete an Introduction
- Press and release the Alt button on the keyboard, click Tools and select Configure Providers from the list displayed. The Provider Management window is displayed.
Note: You can also access Provider Management by pressing F2.
- Click the Clear button.
- Type a Provider last name in the Last Name field.
- Click on a Provider in the Search Results box to select.
- Click the Configure button .
- Click the Next button until you get to the Provider Wizard window.
- Click to select the introduction and click the Delete button . A confirmation message is displayed:
- Click Yes to proceed. The introduction has been deleted.
- Click Finish to exit the Provider Wizard.
Edit a Footer
- Press and release the Alt button on the keyboard, click Tools and select Configure Providers from the list displayed. The Provider Management window is displayed.
Note: You can also access Provider Management by pressing F2.
- Click the Clear button.
- Type a Provider last name in the Last Name field.
- Click on a Provider in the Search Results box to select.
- Click the Configure button .
- Click the Next button two times.
- Click to select the footer and click the Edit button . The following window is displayed .
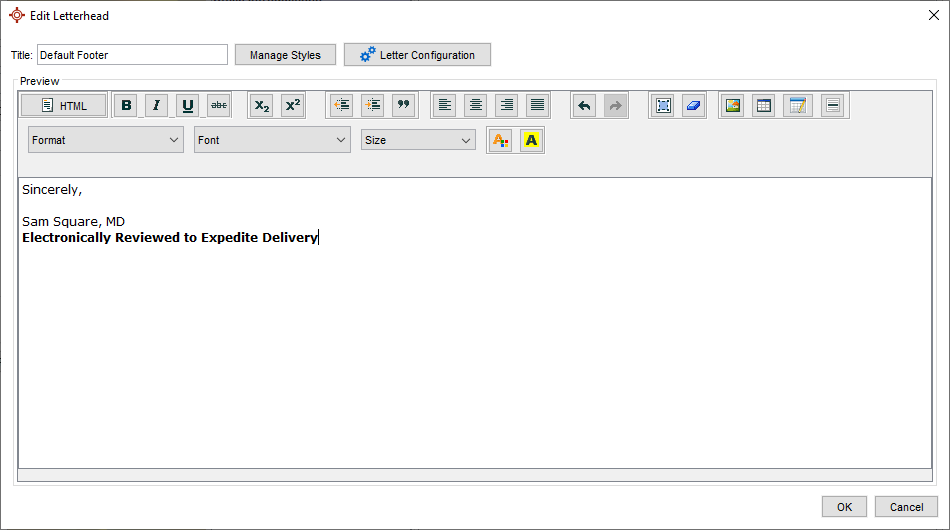
- Click Letter Configuration to manage the margins for the footer if required. Click OK to save any changes.
- Click Manage Styles to access the font styles, sizes and other formatting that is associated with word processing. Update as required.
- Click the HTML button to edit the text in HTML format.
Note: Make sure you do not remove any of the HTML commands, these appear in brackets <> and are instructions that tell the text how to display.
- Right-click any tags that you may want added to the signature.
- Click the Editor button to see how the signature will look.
- Click OK to save your changes.
Add a Signature to a Footer
- Press and release the Alt button on the keyboard, click Tools and select Configure Providers from the list displayed. The Provider Management window is displayed
Note: You can also access Provider Management by pressing F2.
- Select the appropriate Provider.
- Click the Configure button .
- Click the Next button two times.
- Click the Add button to add another footer.
- Click the appropriate radio button to select either Office or Provider. Office means the footer will be available to everyone, Provider means it will only be available to the Provider selected when entering the wizard.
- Click Next.
- Select Footer from the list displayed and click Next.
- Select from Create New, Copy Existing or Create From Template. For this Procedure we will Copy Existing.
- Click Next.
- Select the footer being copied and click Finish. The following window is displayed, this is where the footer is created.
- Type in a name for the footer in the Title field.
- Click Letter Configuration to manage the margins for the footer if required. Click OK to save any changes.
- Click Manage Styles to access the font styles, sizes and other formatting that is associated with word processing. Update as required.
- Click the HTML button to edit the text in HTML format.
Note: Make sure you do not remove any of the HTML commands, these appear in brackets <> and are instructions that tell the text how to display.
- Right-click any tags that you may want added to the signature.
- Click the Editor button to see how the signature will look.
- Click OK to save your changes.
Delete a Footer
- Press and release the Alt button on the keyboard, click Tools and select Configure Providers from the list displayed. The Provider Management window is displayed.
Note: You can also access Provider Management by pressing F2.
- Click the Clear button.
- Type a Provider last name in the Last Name field.
- Click on a Provider in the Search Results box to select.
- Click the Configure button .
- Click the Next button until you get to the Provider Wizard window.
- Click to select the letterhead and click the Delete button . A confirmation message is displayed:
- Click Yes to proceed. The letterhead has been deleted.
- Click Finish to exit the Provider Wizard.
Do Not Display a Provider's CPSO/CNO Number on Prescriptions (ON)
Use this procedure to stop displaying a Provider's CPSO/CNO numbers on prescriptions.
- Press F2 anywhere in Accuro to display the Provider Management window.
- Select the appropriate Provider.
- Click Configure to open the Provider Wizard.
- Click Next twice until you reach Step 3 Edit Headers.
- Click Header listed under the Provider Prescriptions ribbon.
- Click the Edit button . The Prescription Header window is displayed.
- Click to deselect the Append CPSO/CNO # to prescriptions checkbox.
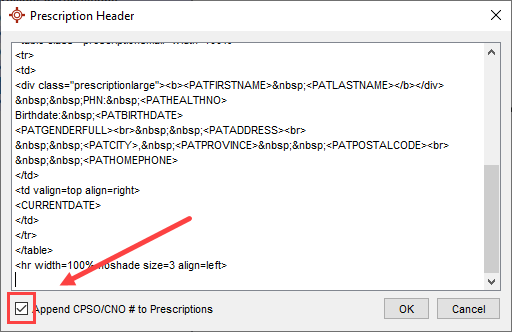
- Click OK to save the changes.
- Click Finish to exit the wizard.
Display a Provider's CPSO/CNO Number on Prescriptions (ON)
Use this procedure to start displaying a Provider's CPSO/CNO numbers on prescriptions.
Note: The CPSO/CNO Number will only be displayed if it has been entered in the Identifier field of the Provider Demographics tab of Provider Management (F2).
- Press F2 anywhere in Accuro to display the Provider Management window.
- Select the appropriate Provider.
- Click Configure to open the Provider Wizard.
- Click Next twice until you reach Step 3 Edit Headers.
- Click Header listed under the Provider Prescriptions ribbon.
- Click the Edit button . The Prescription Header window is displayed.
- Click to select the Append CPSO/CNO # to prescriptions checkbox.
- Click OK to save the changes.
- Click Finish to exit the wizard.
Configure Physician Group Number (SK)
This feature requires either and Administrator or Physician Role, or the "Configure Office Providers" permissions enabled in Feature Access.
- Press and release Alt button on the keyboard or click the Accuro Start Menu Button
 , click Tools and select Configure Providers from the list displayed. The Provider Management window is displayed.
Note: You can also access Provider Management by pressing F2.
- Select a Provider from the Search Results Window.
- Click the Configure button
 .
.
- Select Next for Billing Options.
- Type the Physician Group Number provided by the Saskatchewan Ministry of Health Medical Services Branch (MSB) into the Group Number field.

- Select Next twice until able to select the Finish button to save changes.
Configure Clinic Number (SK)
This feature requires either and Administrator or Physician Role, or the "Configure Office Providers" permissions enabled in Feature Access.
- Press and release Alt button on the keyboard or click the Accuro Start Menu Button , click Tools and select Configure Providers from the list displayed. The Provider Management window is displayed.
Note: You can also access Provider Management by pressing F2.
- Select a Provider from the Search Results Window.
- Click the Configure button .
- Select Next for Billing Options.
- Type the Clinic Number provided by the Saskatchewan Ministry of Health Medical Services Branch (MSB) into the Clinic Number field.

- Select Next twice until able to select the Finish button to save changes.