Masking and Locking in Encounter Notes
Mask an Encounter Note or Form
- Hold down the Alt key and click to select the existing encounter note or form being masked for the patient. The Configure Mask window is displayed.
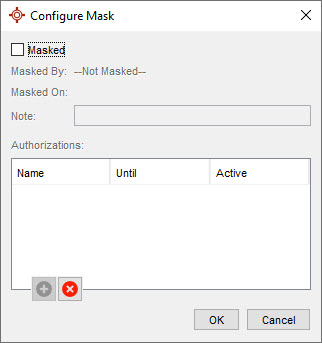
- Click the Masked checkbox. The date, time and person masking the note are automatically completed by Accuro.
- Type in a Note, if required.
- Click the Add button
 to authorize other users to view the masked encounter note / form.
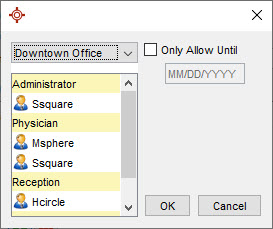
- Select the user to be authorized.
- If there is a date that the encounter note / form can be viewed until before it is masked for this user select the User and click the Add button.
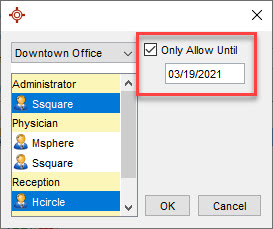
- Click the Only Allow Until checkbox, add the date, and select the appropriate users. Click OK to save any changes.
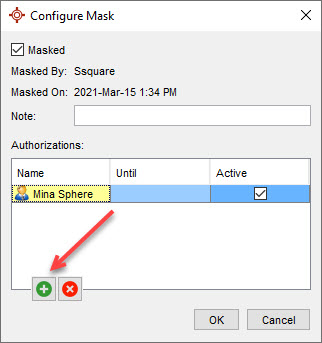
- The encounter note / form is masked.
- Repeat this procedure from step 5 to allow other users to access this masked encounter note / form. When all users have been added click OK to save the details and mask the encounter note / form.
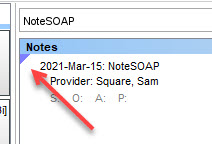
A blue triangle in the corner of the encounter note indicates it is masked. You can only see the encounter note details if you have been granted access.
Note: Only users with the Feature Access "Create & Modify Masks" enabled have the ability to mask an encounter note / form.
Unmask an Encounter Note or Form
- Hold down the Alt key and click to select the masked encounter note or form for the patient. The Configure Mask window is displayed.

- Click to deselect the Masked checkbox.
- Click OK. The Remove Mask window is displayed if the Provider unmasking the encounter note / form is not the original Provider who applied the mask.
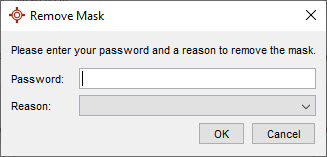
- Type in your Accuro Password.
- Click the dropdown list
 to the right of Reason and select the reason for unmasking the encounter note / form.
 - Click OK. The encounter note / form is unmasked.
Note: Only users with the Feature Access "Create & Modify Masks" enabled have the ability to unmask an encounter note / form.
Lock an Encounter Note or Form
- Click the EMR button
 on the Accuro Navigation bar and click the Encounter Notes tab.
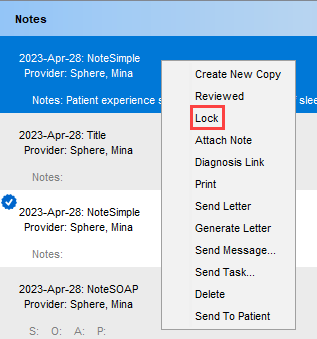
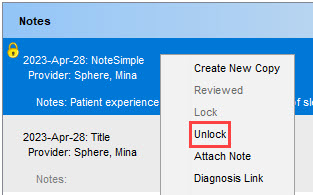
 - Right-click the existing encounter note or form for the patient and select Lock from the list displayed.
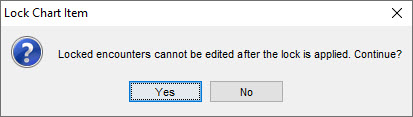
- Click Yes in the Lock Chart Item prompt to lock the encounter note / form.
- The lock
 beside the encounter note / form indicates the item is locked.
Note: Only users with the Feature Access "Lock & Review Clinical Notes" enabled have the ability to lock an encounter note / form.
Unlock an Encounter Note or Form
- Click the EMR button on the Accuro Navigation bar and click the Encounter Notes tab.
- Right-click the existing encounter note or form for the patient and select Unlock from the list displayed.
Note: Only users with the Feature Access "Lock & Review Clinical Notes" enabled have the ability to unlock an encounter note / form.
Provider Lock Chart
A Provider has permissions to lock all of a Patient's encounter notes. To do this:
- Select the Encounter Notes tab for the appropriate patient.
- Click the Lock icon
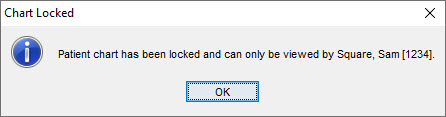
 located to the left of the patient's name. The Locked Patient Chart window is displayed and the lock icon turns red.
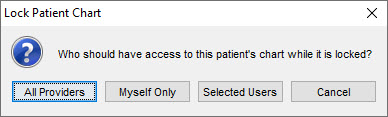
- Click to select who should have access to the patient's chart. If you select Selected users, select the appropriate users from the list displayed and click OK. The patient's Encounter Notes and Virtual Chart are now locked.
- When users other than the permitted users try and access either the Encounter Notes or the Virtual Chart for this patient a warning prompt is displayed.
Provider Unlock Chart
To unlock a patient's encounter notes, you must be the Provider who locked them.
- Select the Encounter Notes tab for the appropriate patient.
- Click the Unlock icon
 located to the left of the patient's name. The Unlock Chart window is displayed.
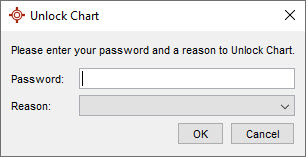
- Type in your Accuro Password.
- Click the dropdown list to the right of Reason and select the reason for unlocking the encounter notes.
- Click OK. The patient's Encounter Notes and Virtual Chart are now unlocked.