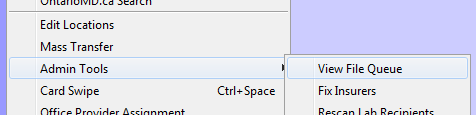
The HRM connections window is displayed, however it will be completely blank. A new connection must then be added by selecting the Add button
You will then see a screen similar to below.
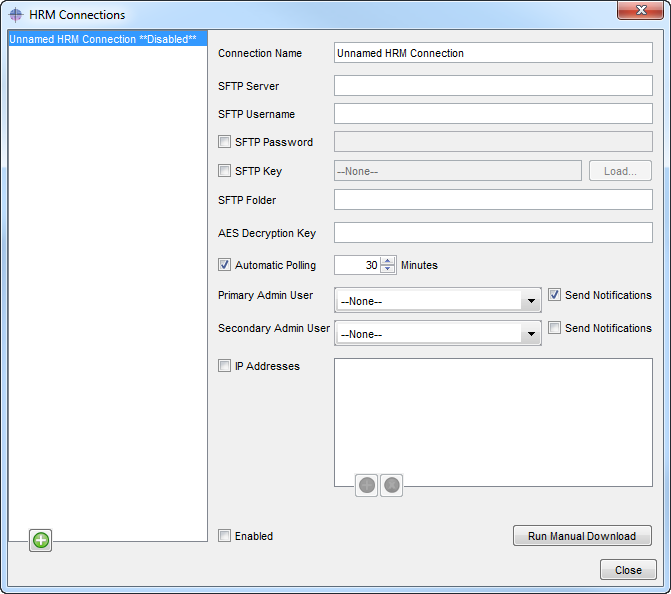
The Connection Name, SFTP Server, STFP Username, SFTP Folder, and AES Decryption Key, will have to be filled in from what is provided, as well as loading in the supplied .ppk SFTP Key.
The Primary and Secondary Admin users should also be set, with the Send Notifications selected; these should be users such as the office manager and primary physician contact. Should there be any issues identified with the connection these are the users that will be notified.
The SFTP Connection Information, as well as the SFTP Key (.ppk format) will all be provided by OntarioMD in a documentation package provided to QHR technologies. Please note that until this information package is received setup cannot be initiated. This information will be sent directly to the technical contact for the site or QHR Technologies.
Once the HRM package information has been received and entered into the appropriate fields then the entry screens should look similar to this.
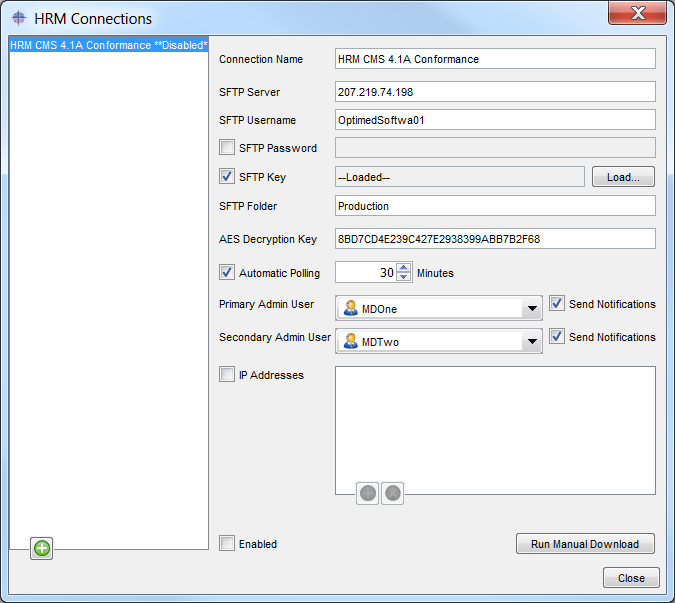
After all fields have been correctly filled out with data provided by OntarioMD we would then tick the enabled checkbox. The download interval is defaulted to 30 minutes but can be modified anywhere between 30 minutes and 24 hours if require. In general the default 30 minutes setting should be left as-is, so normally is not touched.
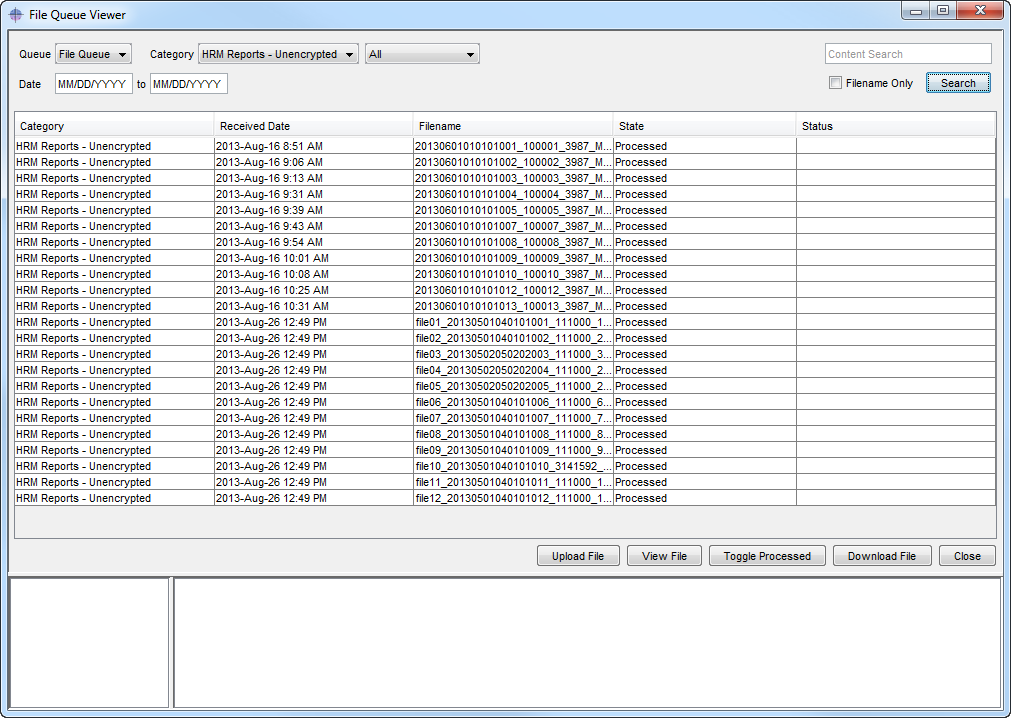
In the event that an older lab is received where a new one already exists there will be a message appearing in the status window ‘Newer Version of Lab Already Received’. This is a perfectly normal message and can be ignored as is used for message audit tracking purposes.
The following screen then will be displayed.
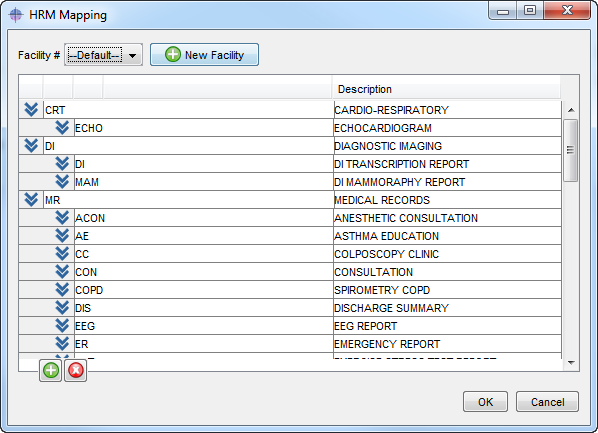
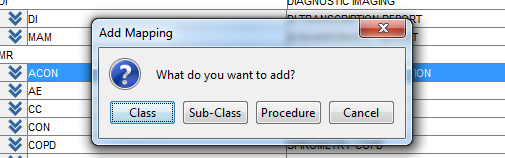
Note: If nothing is selected when the green plus is selected the only option will be add a new class.
The Class and Sub-Class, are used to organize Medical Records reports within a patient’s chart.
There are no Procedures entered by default, they can be entered when generated by a sending facility either as part of a single accompanying sub-class, or multiple procedures may be sent that are part of other sub-classes.
Additionally, descriptions can be edited as per a clinics preference simply by double clicking the description and making the desired changes.

In the situation where setup has been done correctly but no labs appear we will have to contact Ontario MD to assist in troubleshooting the connectivity by confirming the site setups and any other actions they deem necessary that we should follow to resolve the issue.