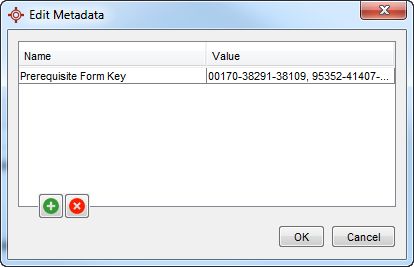
Edit Metadata
The Metadata area of forms is where users can go and look at what items they have set up on a form e.g. default printer and default recipient. Although information can be added, edited and deleted in here; it is not recommended that users change defaults directly in the metadata. A better workflow is to use the Advanced menu options to select items that require changing.
Select Form Paper Size
- Press and release the Alt key, click Tools and select Form Editor from the list displayed.
- Select the form that is to be set as singleton.
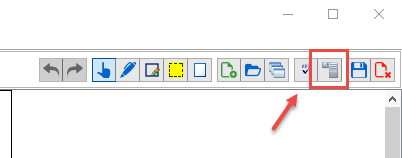
- Click the Advanced Features button
 .
.
- Click Paper Size. The Paper Size window is displayed.
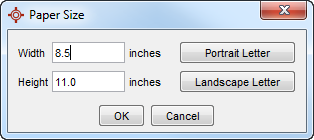
- Select the paper size and orientation, as required.
- Click OK to save any changes.
Extract Image from a Form
- Press and release the Alt key, click Tools and select Form Editor from the list displayed.
- Select the form that is to be set as singleton.
- Click the Advanced Features button .
- Click Extract Image. A list of images used in the form is displayed.
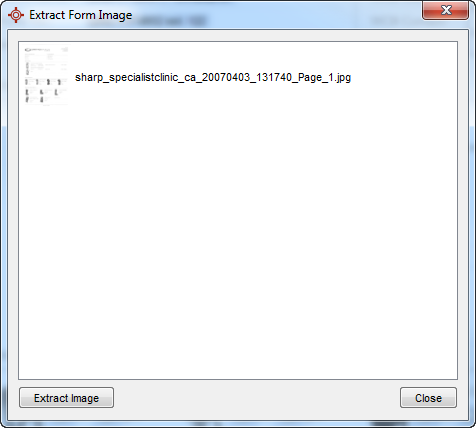
- Click to select the image and click Extract Image. The save window is then displayed.
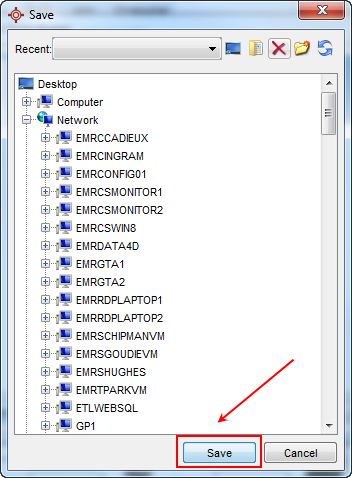
- Browse to the location where the file will be saved and click Save. A confirmation message that the image has been saved is displayed.

Select Default Recipient for a Form
- Press and release the Alt key, click Tools and select Form Editor from the list displayed.
- Select the form that is to be set as singleton.
- Click the Advanced Features button .
- Click Select Default Recipient. The Address Book window is displayed.
- Search for the appropriate recipient and click Select.
Note: Only one default recipient can be selected for each form.
Select Default Form Printer
- Press and release the Alt key, click Tools and select Form Editor from the list displayed.
- Select the form that is to be set as singleton.
- Click the Advanced Features button .
- Click Set Default Printer. The Printer Selection window is displayed.
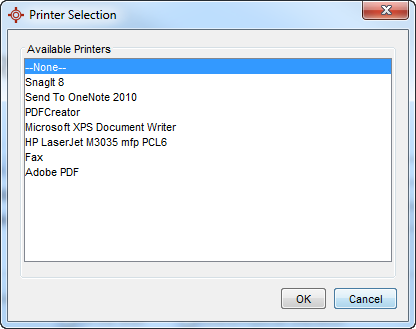
- Click to select the printer from the list and click OK.
Set Form as Reportable
If a form is marked as reportable, individual components on the form must also be marked as reportable other wise there is nothing on the form to be reported. To set a form as reportable use follow the procedure below:
- Press and release the Alt key, click Tools and select Form Editor from the list displayed.
- Select the form that is to be set as singleton.
- Click the Advanced Features button .
- Select Reportable Form. Once selected a tick is displayed next to the option.
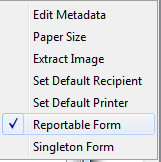
- Click the OK button.
Set Form as a Singleton
A singleton form is a form that is completed only once per patient. The singleton option can be toggled on or off in the form editor. To set a form a single use follow the procedure below:
- Press and release the Alt key, click Tools and select Form Editor from the list displayed.
- Select the form that is to be set as singleton.
- Click the Advanced Features button .
- Select Singleton Form. Once selected a tick is displayed next to the option.
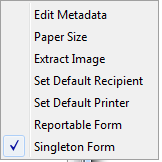
- Click the OK button.
Add a Tooltip to a Form
Tooltips can be added to labels, queries and images. To add a tooltip follow the procedure below:
- Press and release the Alt key, click Tools and select Form Editor from the list displayed.
- Click to select the form type where the form you want to add the tooltip to is stored.
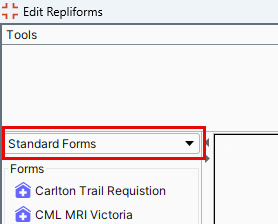
- Double-click to open the form from the list displayed.
- Right-click on the appropriate component and select Edit.
- Click the Enable Popup checkbox and click the Edit button.

- In the Edit Popup window displayed type any text and add any images that are to be displayed in the tooltip.
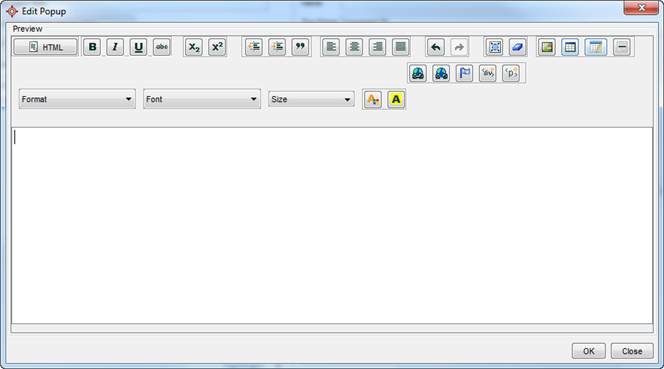
- Click OK to save the tooltip.
Add a Triple State Checkbox to a Form
Triple state checkboxes can be added to forms. To add this type of checkbox follow the procedure below:
- Press and release the Alt key, click Tools and select Form Editor from the list displayed.
Click to select the form type where the form you want to add the checkbox to.
- Double-click to open the form from the list displayed.
- Drag the checkbox onto the form, right-click and select Edit.
- Click the Tri-State checkbox.
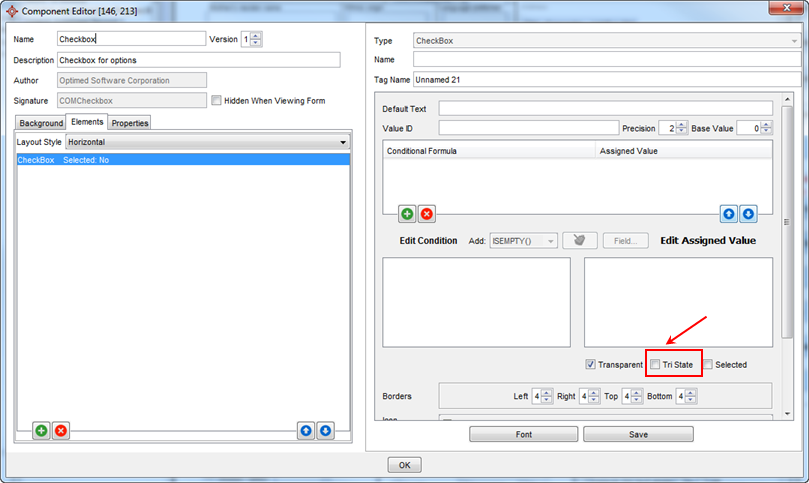
- Type in a description for each of the three states:
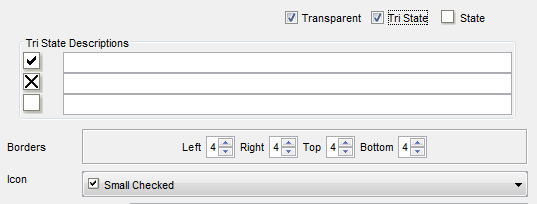
- Click the State box until the state you want the checkbox to be in when the form is opened is displayed.
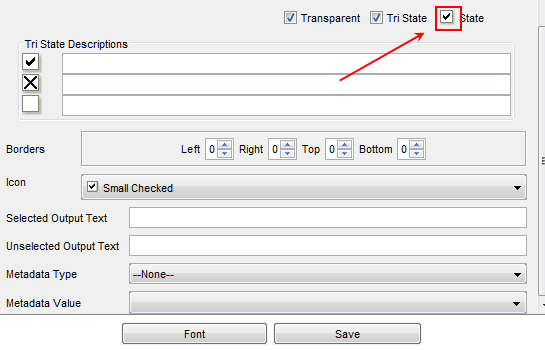
- Click OK to save the changes.
Make a Form Single Form Per Patient
- Press and release the Alt key, click Tools and select Form Editor from the list displayed.
- Click to select the form type where the form you want to add the checkbox to.
- Double-click to open the form from the list displayed.
- Click the Advanced button at the top-right of the window.
- Select Singleton Form from the list displayed.
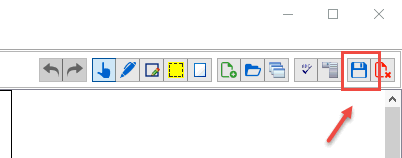
- Click the Save button to save this change.