Adding Special Fields to Forms

The list below are special form element names that when used take information from Accuro and put it into a form.

Fax Coversheet

Invoices

OR Booking Forms

Field Name

Content

Special Instructions

BookedDate

Confirmed Date

SpecialNeedsRequest

Special Equipment

GenderMale

Patient is Male

Use checkbox or radio button

GenderFemale

Patient is Female

Use checkbox or radio button

ProcedureCodeText#

Procedure Code Description

Replace # with a number starting at 1 and going up to the number of procedures a booking form may contain.

SurgeonFirstName

Surgeon's first name

SurgeonLastName#

Surgeon's last name

Replace # with a number starting at 1. There is only 1 Surgeon on a booking form, but the name can be repeated for each procedure if desired.

AssistantName#

Assistant Name

The assistant name functions the same way as the Surgeon name.

ProcedureBodyArea#

Body Area

orRequestLength

Length of Booking Request

orRequestNotes

Booking Request Notes

ReferralDate

Referral Date

FirstConsultDate

First Consult Date

PatientAvailableDate

Patient Available Date

UrgentDate

Urgent Date

TentativeDate

Tentative Date

DecisionDate

Decision Date

orRequestPriority

Priority Description

orRequestType

Type

Add a Special Field to a Form

  1. Press and release the Alt key, click Tools and select Form Editor.
  2. Select the form that the special field is being added to and load into the form editor.
  3. Select the appropriate component on the form or drag and drop an appropriate component onto the form.
  4. Right-click on the component and select Edit Component.
  5. In the Name field type in the name of the special field (for a list of special fields available, click here).

  6. Click the Save button to save any changes.

Special Fields on Forms

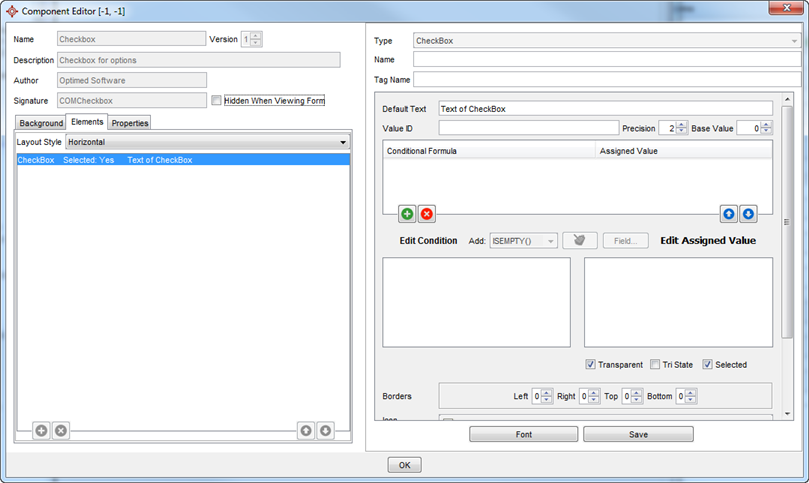
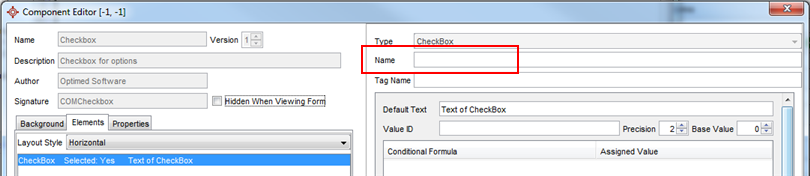
If special fields are applied to a form e.g. OR booking form, when the form is opened (for example when placing a patient on the waitlist) the special fields information populates in the form.

For information on how to add a special field to a form see Add a Special Field to a Form.

Edit Components on a Form

  1. Press and release the Alt key, click Tools and select Form Editor from the list displayed.
  2. Click to select the form type where the form you want to add components to is stored.

  3. Double-click to open the form from the list displayed.
  4. Right-click the component that you want to change and select Edit. The Component Editor is displayed:

  5. Edit the element as required. Options available in the Component Editor vary depending upon the component you are editing.
  6. To remove an element, right-click on the element and select Remove from the list displayed. A confirmation of the deletion message is displayed:


    Click Yes to continue.
  7. Double-click the categories in the left side panel containing the component being added. Click to select the component that you want to add to your form. Drag the component on to the form to the position of choice.

    Note: To copy a component on your form hold the CTRL key down while you click and drag the component to its next desired location.

    Repeat until you have all the necessary elements.
  8. Click Close when you have made all your changes.

Add a Spreadsheet to a Form

  1. Press and release the Alt key, click Tools and select Form Editor from the list displayed.
  2. Click to select the form type where the form you want to add components to is stored.

  3. Double-click to open the form from the list displayed.
  4. Double-click the Components option and select SpreadSheet from the list displayed.
  5. Drag the spreadsheet on to the form to the position of choice.
  6. Right-click on the pale blue border and select Edit to make any changes. Components can be dragged and moved, if required. The component appears on the form outlined with a light blue border.
    Note: To copy the spreadsheet to a different location on your form hold the Ctrl key down while you click in the pale blue border and drag to the next location.
  7. To add a formula to a spreadsheet, double-click the appropriate cell.
    Note: Valid formula formats are addition, subtraction, division and multiplication (e.g. a1+b1, a1-b1, a1/b1, a1*b1) where the letter is the row and the number is the column.
  8. Click Close when you have finished.