
The Provider Calendar shows a monthly overview for each Provider. The clinic can use this to see all appointments booked for the Provider on a monthly basis, along with any Notes that users have put in the calendar. When you add a note to the Provider Calendar it is the title of the note that is displayed beneath the Provider in the main Scheduler window. If the title is too long to be displayed fully, it can be read in its entirety by hovering the mouse over it and the complete title is displayed.
Navigating between months and years, setting and removing Notes, and printing the Provider Calendar are identical to the Office Calendar.
 on the Accuro Navigation bar.
 located at the bottom of the window.
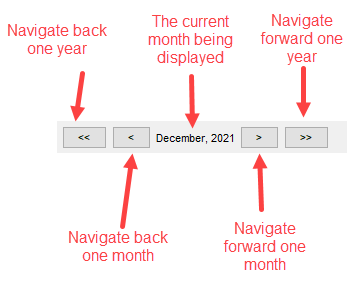
The calendar displays a month at a time. The navigation buttons at the top of the window allow quick and easy movement between different months and years.
on the Accuro Navigation bar. located at the bottom of the window.Cut-Off dates vary from Province to Province. The calendar in Accuro contains the cut-off dates for your province. These are put in the calendar by QHR for the whole year as a reminder of when submissions need to be made.
There is no need to wait until just before a cut-off date to make submissions. Submissions can be made at any time and as many times as required in a billing period. For large office, submitting daily or two/three times a week can aid to the smooth running of the office.
The cut-off dates are displayed in both the Office Calendar and the Provider Calendar.
To view cut-off dates:
on the Accuro Navigation bar. located at the bottom of the window.Note: To make cut-off dates to be visible on the hard copy of a calendar, add them to the calendar as calendar notes. For more help on calendar notes please see Create a Calendar Note.
Calendar Notes can contain any information related to a particular day. There can be one note per day, per calendar. Calendar Notes can be created in both the Office Calendar and the Provider Calendar. A Calendar Note created in the Office Calendar cannot be viewed in the Provider Calendar and similarly a Calendar Note created in the Provider Calendar cannot be viewed in the Office Calendar.
on the Accuro Navigation bar. located at the bottom of the window. on the Accuro Navigation bar. located at the bottom of the window. on the Accuro Navigation bar. located at the bottom of the window.
 . The summary is now displayed in a viewer window. on the Accuro Navigation bar. located at the bottom of the window.