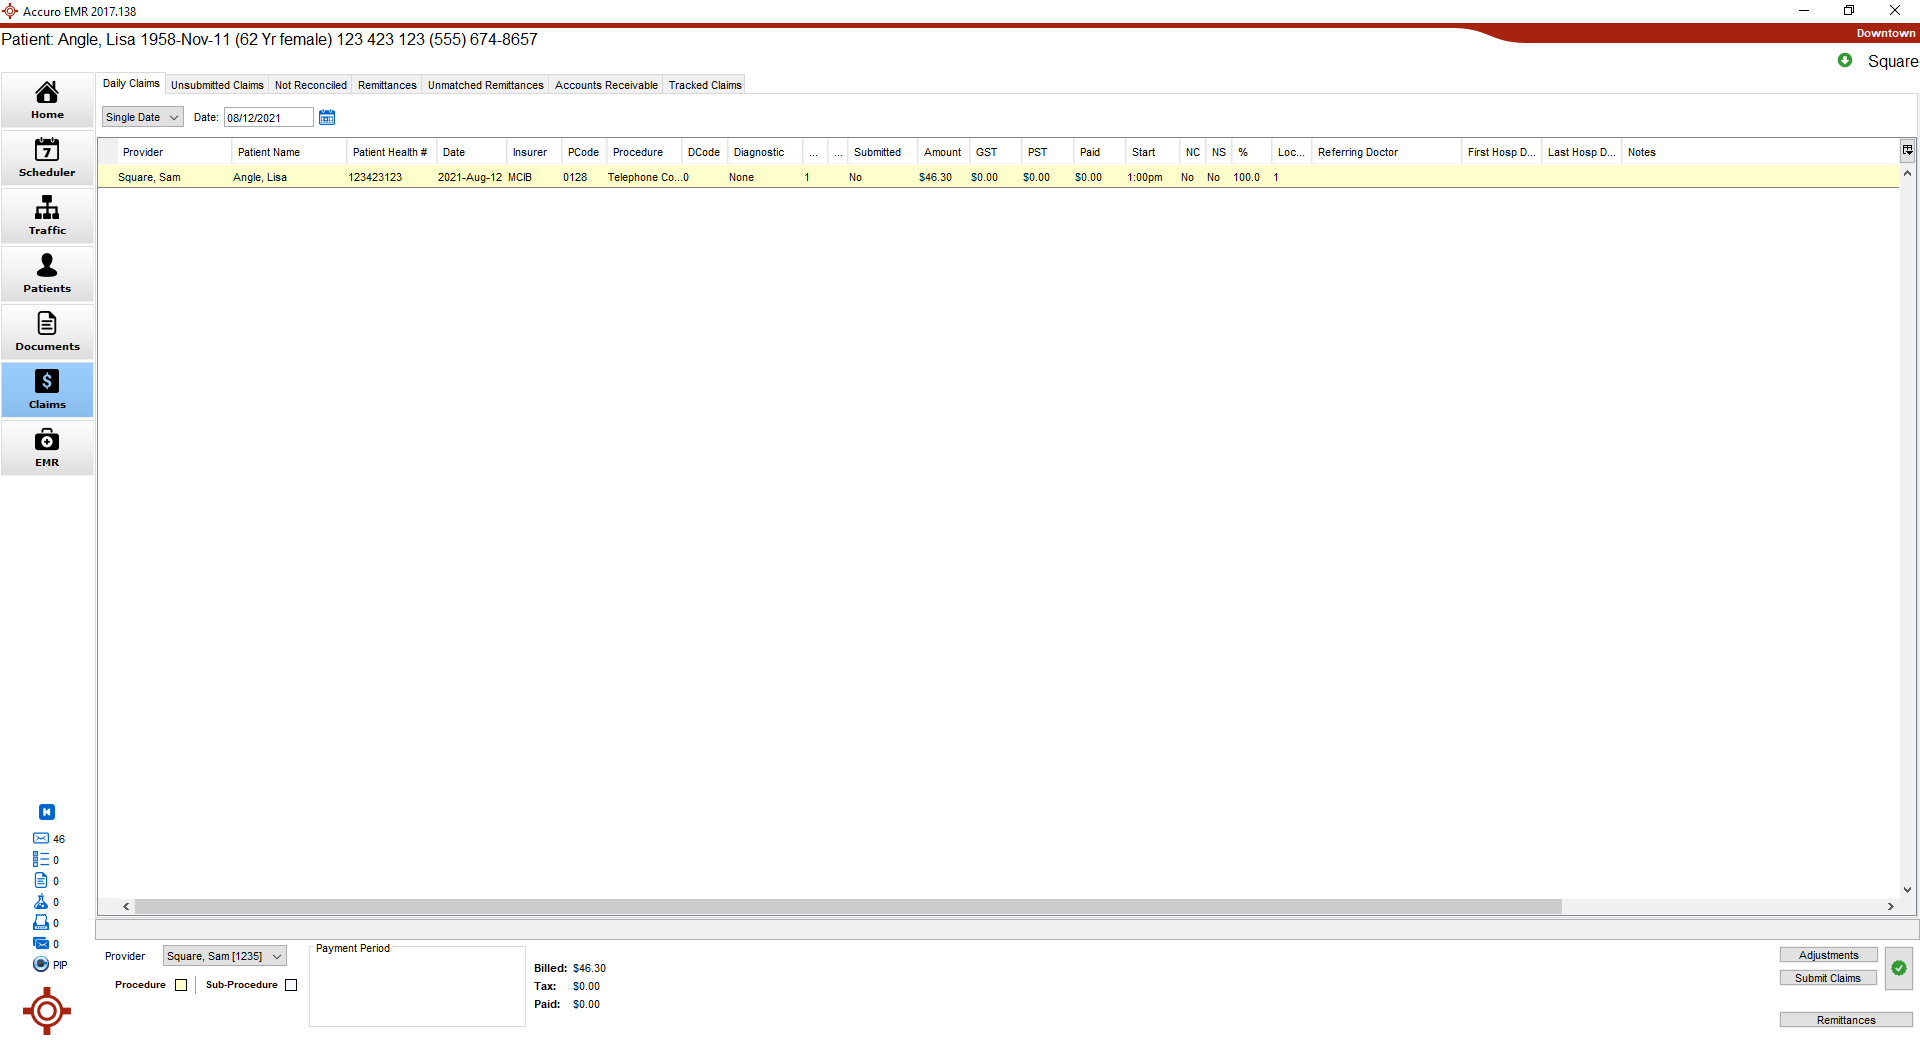
Daily Claims (SK)
The Daily Claims tab shows ALL claims for the date and the Provider selected. This includes both submitted and unsubmitted claims, claims made from appointments and walk-in claims, MSB, WCB, and private insurer claims.
Completing the Claim Details (SK)
 See Claims - Basics (Saskatchewan) on Accuro Learning Academy (ALA) for additional help on this topic! See Accuro Learning Academy for access.
Complete the Claim Details Window
- If a claim has been opened from an appointment, the patient is already be loaded. If you are creating a new bill from Daily Claims, you need to load a patient using the Search Tool.
- Check the Patient Details are correct. If any of the details are incorrect, correct the relevant information.
- Ensure the Date of Service and Provider in the Details section are correct.
- Click the Ellipses button
 to change or add a Ref From, if required.
- Click the Add button
 to add a procedure and any necessary sub-procedures for the claim.
Add a Procedure
- Double-click the space below Procedure and type in a procedure code or keyword.
- Select the procedure from the list displayed.
- Double-click the space below Diagnosis and type in a procedure code or keyword.
- Select the diagnosis from the list displayed.
- The other fields auto calculate based on the procedure and diagnosis codes selected.
- Click the No Charge, No Show and/or Custom Bill Amount, as required.
Add a Sub-procedure
- Click the Add button to create a new procedure line.
- Follow the steps above for adding a procedure above.
- Complete the Claim Details.
- Click the Ellipses buttonto change or add a Ref From, if required.
- Click
 and select an Insurer from the list displayed.
Note: If you selected eWCB then the electronic claim form is available by clicking the Form button  . If any other insurer is selected, this button is grayed out.
- Select a Start Time and End Time, if required (for hospital billing).
- Click and select a Location from the list displayed.
- Type in an Internal Note, if required. This is a note for your office and is not transmitted with the claim to the insurer.
- Type in an MSB Note, if required. This is a note transmitted with the claim to the insurer. Alternatively click the Ellipses buttonand select a note from the list already set up in your clinic.
- Click and select a Percentage from the list displayed, if different from the default.
- Click the Resubmit and/or EMR Fee requested checkboxes, if required.
- Select an applicable Special Circumstances Indicator, if required. The Bill Amount will adjust according to the selection made.
- Click Save to save your changes.
Include Start and End Times on Submissions
The Clock icon ( ) will appear beside Procedures that may require Start and End Times as per the Fee Schedule. This icon does not automatically populate Start and End Times or automatically include the times for Submission. It is only meant to be a reminder or suggestion.
- Enter the applicable Start Time and End Time in the Start Time and End Time columns.
- Check the checkox in the Submit Time column. Checking this box will send Start and End Times for the Claim. If this box is not checked, the Start and End Times will not be included when submitted to MSB.
Note: If an End Time has not been entered into the End Time column, the Submit Time checkbox will not be enabled.
 Users can select the Include Start and End Times checkbox to toggle time submission across an entire claim for whichever Procedures have a valid End Time.