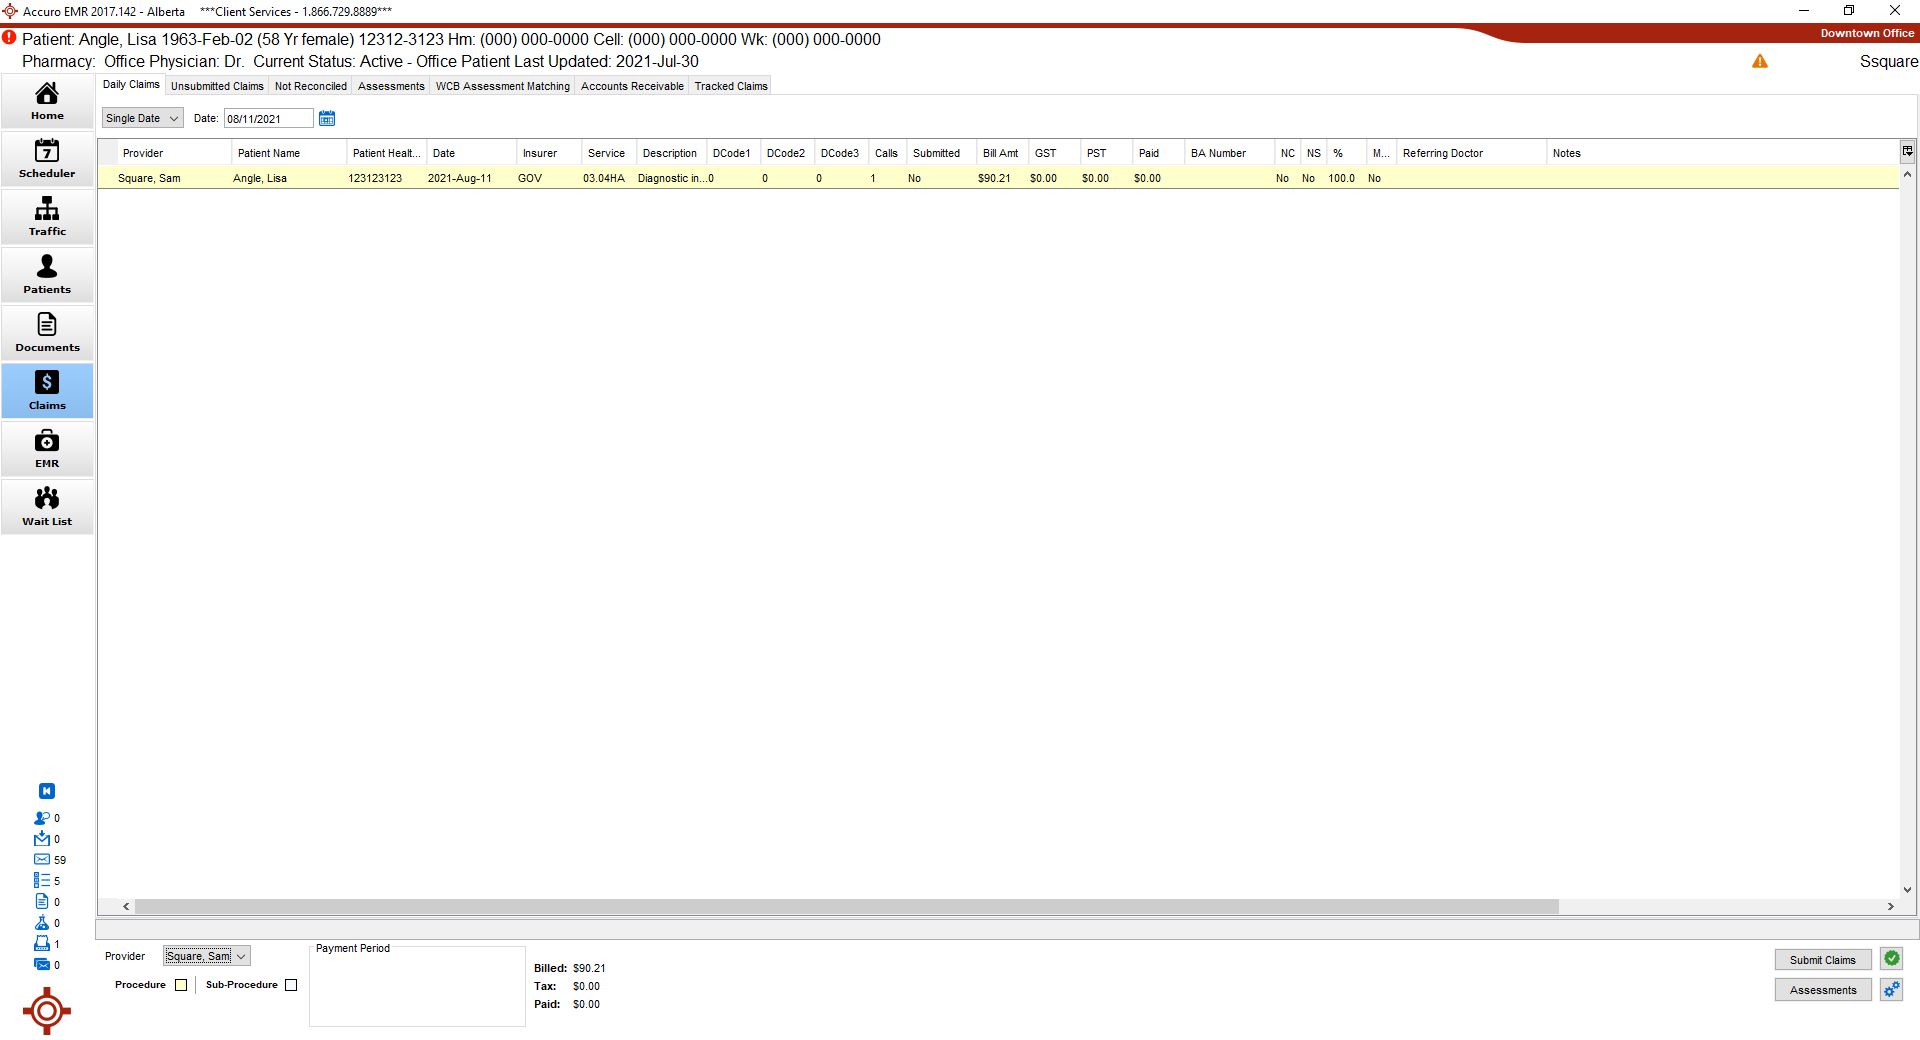
Daily Claims (AB)
The Daily Claims tab shows all claims for today and the Provider selected. This includes both submitted and unsubmitted claims, claims made from appointments and walk-in claims, GOV, WCB, and private insurer claims.
Completing the Claim Details (AB)
 See Claims - Basics (Alberta) on Accuro Learning Academy (ALA) for additional help on this topic! See Accuro Learning Academy for access.

Complete the Claim Details Window
- If a claim has been opened from an appointment, the patient is already loaded. If you are creating a new bill from Daily Claims, you need to load a patient using the Search Tool.
- Check the Patient Details are correct. If any of the details are incorrect, correct the relevant information.
- Ensure the Date of Service and Provider in the Details section are correct.
- Click the Ellipses button
 to change or add a Ref Phys, if required.
- Click
 and select an Insurer from the list displayed.
- Click the Add button
 to add a procedure and any necessary sub-procedures for the claim.
Add a Procedure
- Double-click the space below Service and type in a code or keyword.
- Select the procedure from the list displayed.
- Double-click the space below DCode1 and type in a diagnosis code or keyword.
- Select the diagnosis from the list displayed.
- Use fields DCode2 and DCode3, if required.
- The other fields auto calculate based on the procedure and diagnosis codes selected.
Add a Sub-procedure
- Click the Add button to create a new procedure line.
- Follow the steps above for adding a procedure above.
- Complete the Claim Details.
- Click and select an Insurer from the list displayed.
Note: If you selected WCB then the electronic claim form is available by clicking the Form button  . If any other insurer is selected, this button is greyed out.
- Click the Ellipses buttonto change or add a Referred By, if required.
- Click and select a Mod #1, Mod #2 and Mod #3 from the list displayed.
- Select an Admission Date and Start Time, if required (for hospital billing).
- Add the Calls / Enc. #, if applicable.
- Click and select a Location from the list displayed.
- Click and select the Implicit from the list displayed, if required.
Note: The Implicit dropdown list displays the Fee Modifiers Accuro is applying automatically.
- Click and select the Facility from the list displayed.
- Click the Resubmit checkbox and select from the list displayed, the default is Auto.
- Click and select the BA# from the list displayed.
- Click and select the Locum BA# from the list displayed, if applicable.
- Click and select the Pay To from the list displayed.
- Type in a Submission Note, if required. This is a note transmitted with the claim to the insurer. Alternatively click the Ellipses button and select a note from the list already set up in your clinic.
- Click and select the Specialty from the list displayed.
- Type in an Internal Note, if required. This is a note for your office and is not transmitted with the claim to the insurer.
- Click and select a Options from the list displayed.
- Click Save to save your changes.
Completing the WCB Claim (AB)
If the insurer is WCB, a WCB form should be completed. Open this form by clicking the Form button beside Insurer on the Claim Details window.
On the WCB Form, all fields with a red dot are mandatory and must be completed.
Click the WCB Form button to open the WCB Provider's Invoice and Report window. All fields with red dots are mandatory and must be completed.