 See Administration - Core, Communication and Documents - Core for Healthcare Providers, and Documents and Labs on Accuro Learning Academy (ALA) for additional help on this topic! See Accuro Learning Academy for access.
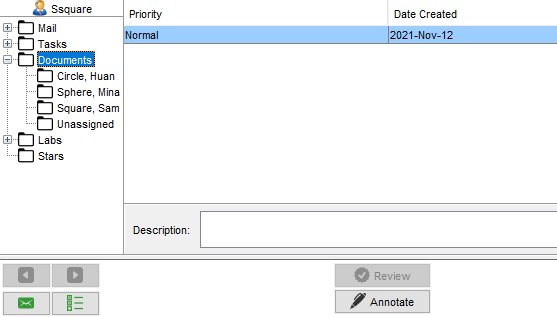
The Documents folder is available for users who are members of the Physician security role. If you cannot access this area of Accuro and think you should be able to, contact your office administrator to request access.
When a Physician member logs into Accuro, all documents that have been sent to a Provider to be reviewed appear in a folder that has their name on it. The Unassigned folder contains documents that Accuro has been unable to assign to a specific Provider.
Documents that have been received but have not yet been viewed appear bold in the Inbox and have "NEW" in the Reviewed column of the Virtual Chart until the document is read.
Access to the Review button is based upon whether the user has permissions to be able to review documents not whether the user is a physician.
Note: It is important to check the unassigned folder regularly to ensure that documents are not missed.
See Administration - Core, Communication and Documents - Core for Healthcare Providers, and Documents and Labs on Accuro Learning Academy (ALA) for additional help on this topic! See Accuro Learning Academy for access.
 on the Accuro Navigation bar and select the Documents folder.
Note: To open a document double-click, or select the document and click the Open button. To navigate between documents in a folder use the arrow buttons ![]()
![]() .
.
on the Accuro Navigation bar and select the Documents folder. on the Accuro Navigation bar and select the Documents folder. to open the Document Annotations window.
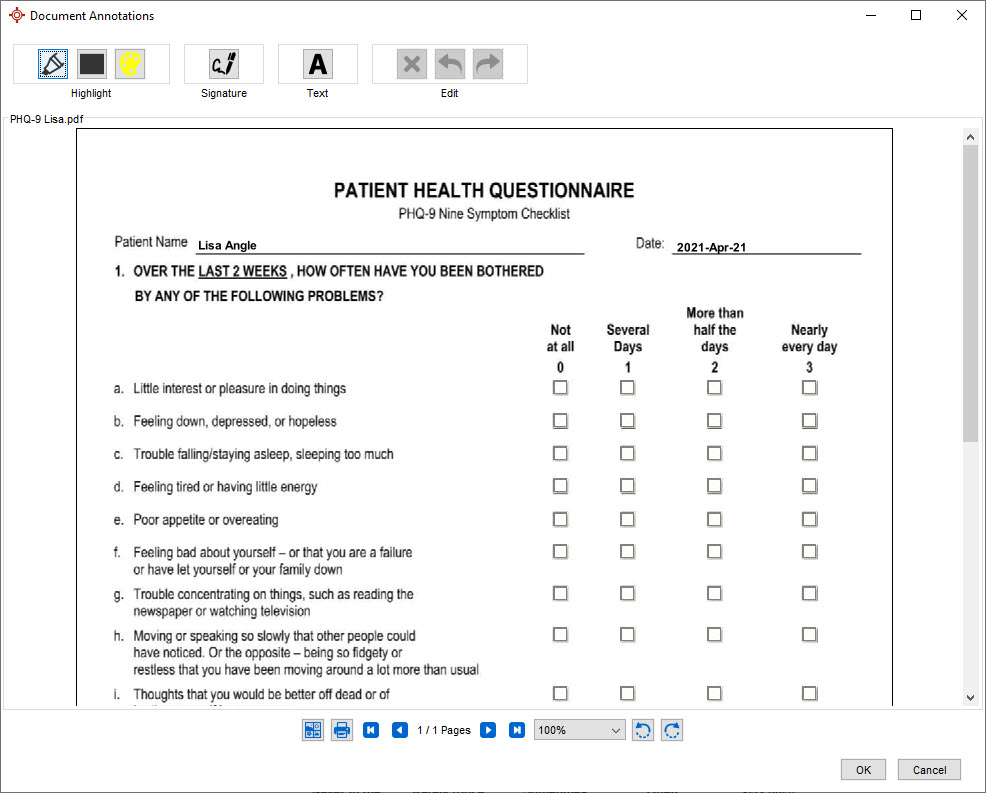
Items can be marked as unread in the Labs, Documents, Tasks and Mail area of the Home section.
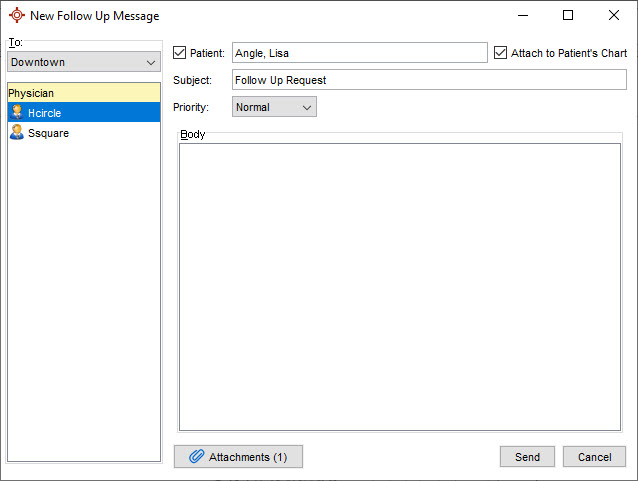
on the Accuro Navigation bar.A follow up request is a message asking a user to follow-up on an attached document.
on the Accuro Navigation bar and select the Documents folder. .
.
 Document Priority can be updated within the Documents folder of the Home Screen by right-clicking the document, selecting Change Priority, and choosing a Priority option: Normal, Urgent, or Very Urgent. Urgent or Very Urgent priorities will appear in red font.
on the Accuro Navigation bar and select the Documents folder. Document Priority can be updated within the Documents folder of the Home Screen by right-clicking the document, selecting Change Priority, and choosing a Priority option: Normal, Urgent, or Very Urgent. Urgent or Very Urgent priorities will appear in red font.
on the Accuro Navigation bar and select the Documents folder.
Document Priority can be updated within the Documents folder of the Home Screen by right-clicking the document, selecting Change Priority, and choosing a Priority option: Normal, Urgent, or Very Urgent. Urgent or Very Urgent priorities will appear in red font.
on the Accuro Navigation bar and select the Documents folder. Document Priority can be updated within the Documents folder of the Home Screen by right-clicking the document, selecting Change Priority, and choosing a Priority option: Normal, Urgent, or Very Urgent. Urgent or Very Urgent priorities will appear in red font.
on the Accuro Navigation bar and select the Documents folder.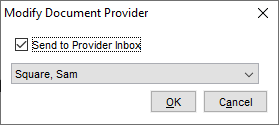
 . on the Accuro Navigation bar and select the Documents folder.
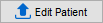 , or right-click and select Modify then Document Patient. The Modify Patient window is now displayed:
 on the Accuro Navigation bar and select the Documents folder.
 .
.The review history allows the user to see the documents that were reviewed for a day.
on the Accuro Navigation bar and select the Documents folder.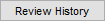 .
. on the Accuro Navigation bar and select the Documents folder.
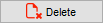 . This deletes the document from both the patient's chart and from the Documents folder. on the Accuro Navigation bar and select the Documents folder.
 .
.